
Last updated September 24, 2026
DIY vs Professional Insulation: The Milpitas Homeowner’s Decision Guide
Renting a blower from Home Depot and adding R-19 blown fiberglass over existing attic insulation is legal, doable, and occasionally the right call in Milpitas. But if there are uncapped attic bypasses underneath, you’ve just buried the air leaks that account for 30-40% of your heating and cooling loss, and the new insulation will never perform at spec. This guide draws the line at the tasks where DIY creates documented risk and the tasks where it’s genuinely viable, because the real question isn’t whether you can do it yourself - it’s whether doing it yourself will leave you with a building envelope that passes scrutiny when you sell. For how to hire a insulation contractor in Milpitas, see our step-by-step guide.
Quick Answer
DIY insulation works for adding depth to a clean, sealed attic with no bypasses, no pest history, and no duct penetrations. For everything else in Milpitas - air sealing, spray foam over 2 inches, crawl space work, or any job requiring a permit - professional installation protects you from moisture damage, failed Title 24 inspections, and disclosure obligations that can complicate a home sale. The dividing line isn’t skill; it’s whether you own a blower door and know where your top plates leak.
Table of Contents
- The Three-Category Decision Framework
- What Is Actually DIY-Viable in Milpitas
- Work That Requires a Licensed Contractor by California Code
- DIY That’s Legal But Creates Measurable Risk
- Why Air Sealing Is Where DIY Most Often Fails
- The Attic Bypass Problem: Quantified for Milpitas Homes
- Permit Triggers in Milpitas: When Insulation Work Needs City Approval
- The Hybrid Approach: Splitting the Work With a Contractor
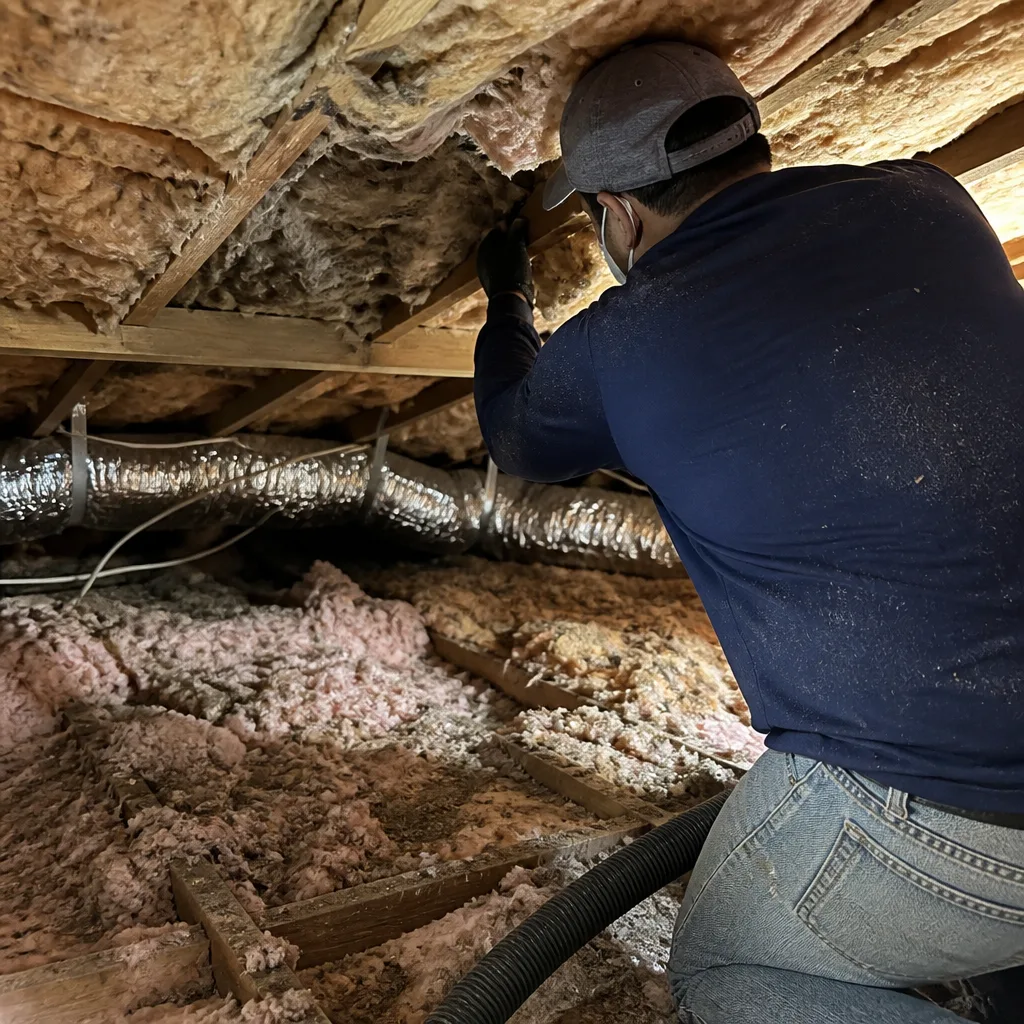 Before
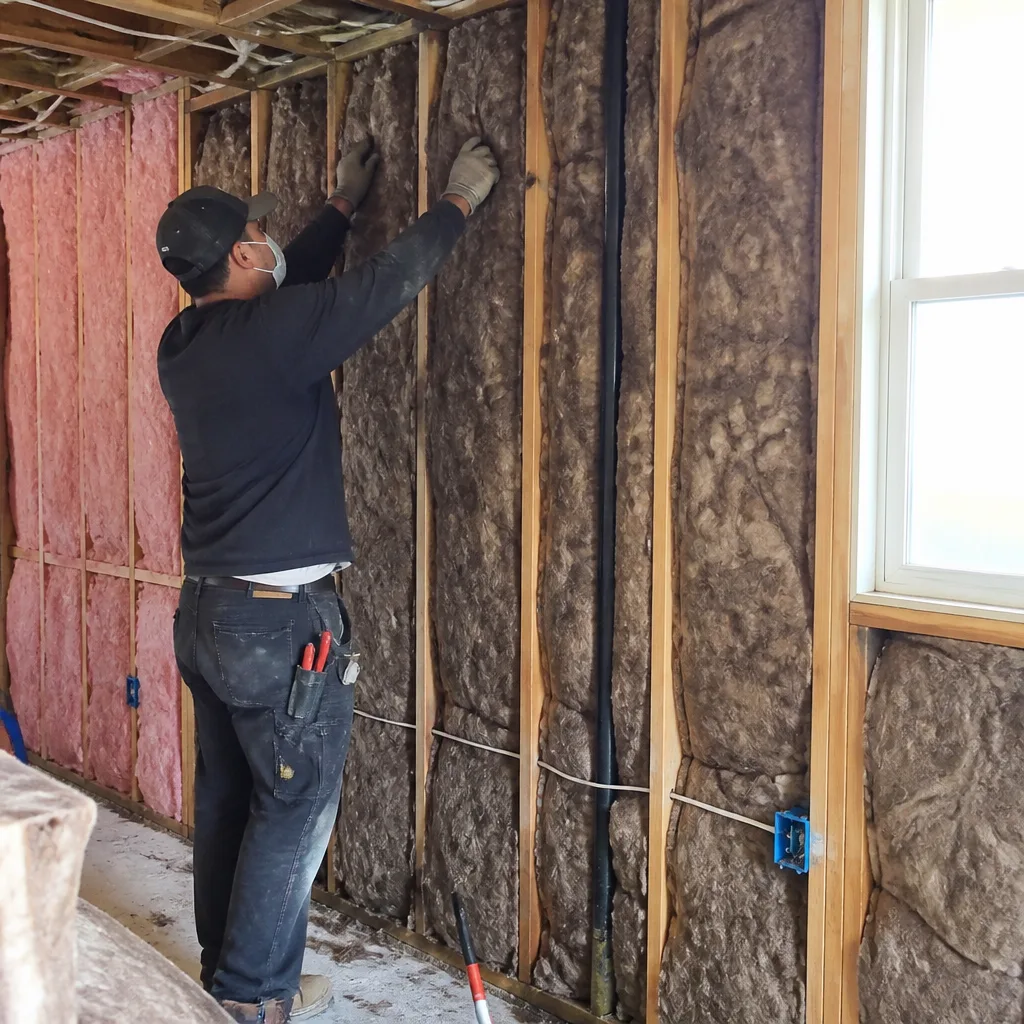 After
AfterThe Three-Category Decision Framework
Most guides sort insulation tasks by difficulty. That’s the wrong axis. The right axis is liability - specifically, whether a mistake creates a problem that shows up on a blower-door test, a home inspection, or a seller disclosure form.
We use three categories on every job we bid in Milpitas:
- DIY-viable: Tasks where a mistake is reversible, doesn’t violate code, and won’t trap moisture or bypassed air.
- Licensed-contractor required: Tasks that trigger permit or licensing requirements under California Building Code or Title 24.
- Technically legal, measurably risky: Tasks a homeowner can legally perform, but where the failure modes are hidden, expensive, and often discovered at the worst possible moment - during a pre-sale inspection in the Berryessa or Milpitas Ranch neighborhoods, where buyers routinely request energy audits and permit history.
This framework matters because Milpitas sits in Santa Clara County’s competitive resale market. A home purchased between 2015 and 2025, which describes most of our customers, will likely sell within 5-10 years. Unpermitted work, undisclosed moisture issues, or insulation that tests below spec can delay closing or trigger price renegotiation. The cost of fixing it then is usually 3-4x the cost of doing it right now.
Under Haven Standard Clause 1, we put every job in writing before anyone lifts a tool. That written scope includes which category each task falls into, so the homeowner knows exactly what they’re signing up for. We’ve found that clarity prevents more disputes than any warranty language ever could.
What Is Actually DIY-Viable in Milpitas
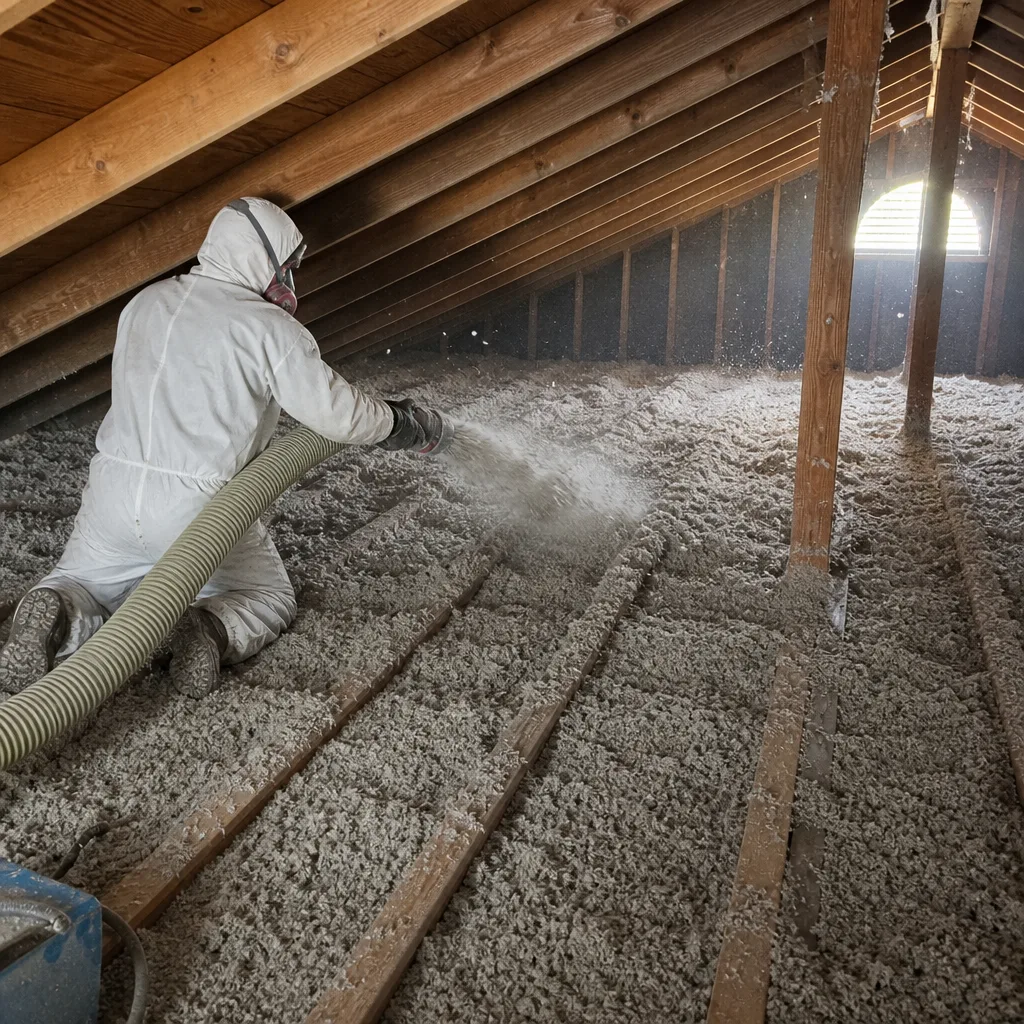
DIY insulation makes sense in a narrow set of conditions. We’ve seen it done well, and we’ve been called in to fix it when it wasn’t. Here’s where it genuinely works:
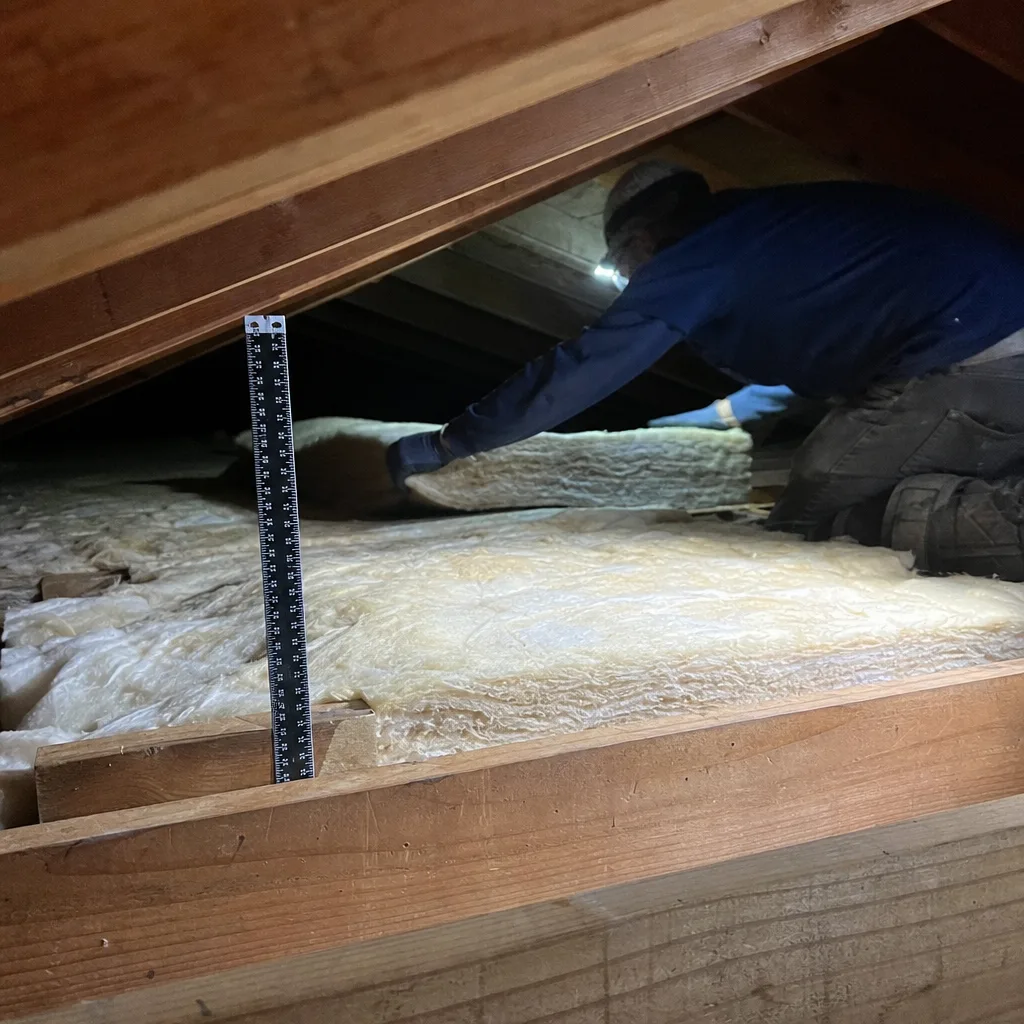
- Adding blown-in fiberglass or cellulose to an attic that’s already clean, dry, and bypass-free. The existing insulation should be uniform, with no compression, no rodent soiling, and no visible gaps. You’re simply increasing depth to reach R-38 or R-49, which is the current Title 24 prescriptive requirement for Milpitas’s climate zone.
- Installing batt insulation in an accessible, unfinished wall cavity during a remodel. This assumes the cavity is open, the vapor barrier orientation is correct (warm side in winter), and there’s no plumbing or electrical in the way.
- Replacing damaged batt sections in a crawl space with no moisture issues. The vapor barrier must be intact, the ground must be dry, and there must be no sign of rodent activity.
Even in these cases, success depends on preparation. In Milpitas, the combination of warm, dry summers and mild, wet winters means attics can accumulate dust and pollen that mask bypass locations. A homeowner adding insulation without first verifying sealing is essentially guessing. We’ve pulled back insulation in the Milpitas Ranch area and found original 1970s bypasses still leaking, buried under three separate DIY insulation layers from three different owners. Each owner thought they were improving efficiency. Each owner buried the problem deeper.
If you’re considering DIY, rent a thermal camera for a day. Home Depot and some local equipment rental yards carry FLIR units. Scan the attic on a morning when there’s at least a 20-degree temperature difference between inside and outside. Bright spots along the ceiling plane indicate bypasses. If you see them, stop. Sealing them requires access to the attic floor, and disturbing electrical or plumbing without knowing what you’re touching creates a different category of risk.
Work That Requires a Licensed Contractor by California Code
California draws a hard line on certain insulation work. Not all of it is obvious. Here’s what triggers licensing or permit requirements - and for full details, read our guide to insulation permits, codes & inspections in CA:
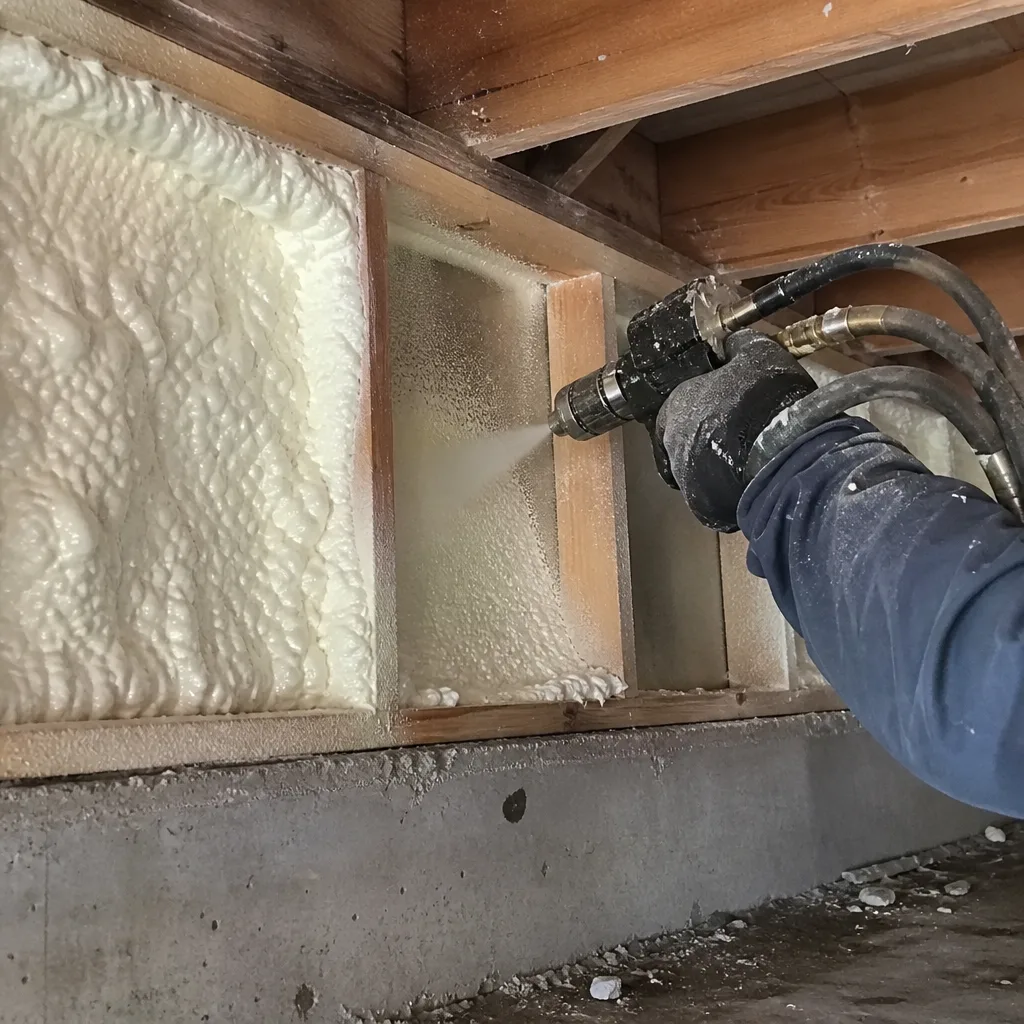
- Spray polyurethane foam (SPF) over 2 inches thickness. The CSLB classifies SPF installation as a specialty requiring proper certification and safety protocols. The chemical reaction generates isocyanates, and improper mixing or application creates off-gassing hazards that persist. We use Icynene and Demilec products on our SPF jobs, applied by technicians trained in respirator protocols and substrate temperature requirements.
- Any insulation work that requires a building permit. In Milpitas, this includes new construction, additions, and most alterations where the thermal envelope is modified. The Milpitas Building Division issues permits through the city’s Community Development Department, and work without a required permit can be flagged during resale.
- Insulation removal in homes built before 1980. Vermiculite insulation may contain asbestos. Disturbing it without asbestos abatement licensing is illegal and creates federal liability under NESHAP.
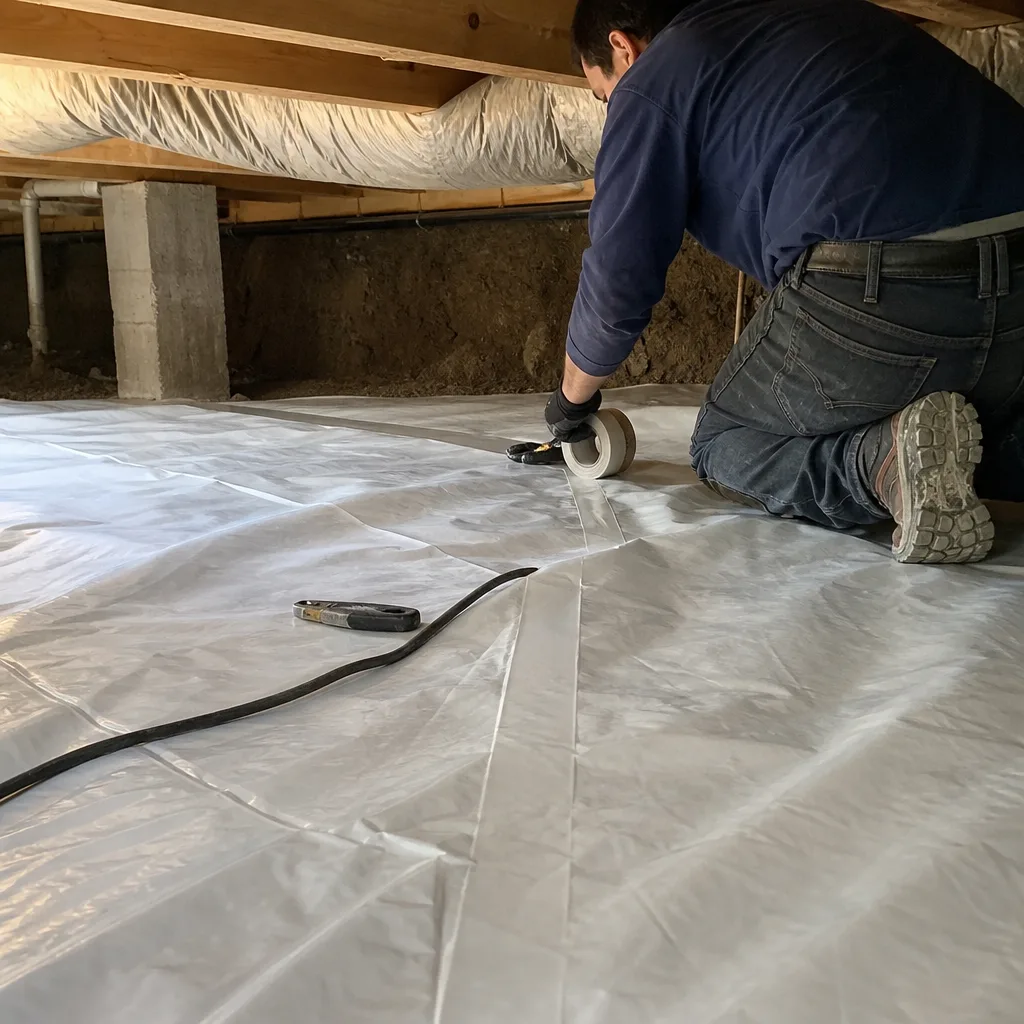
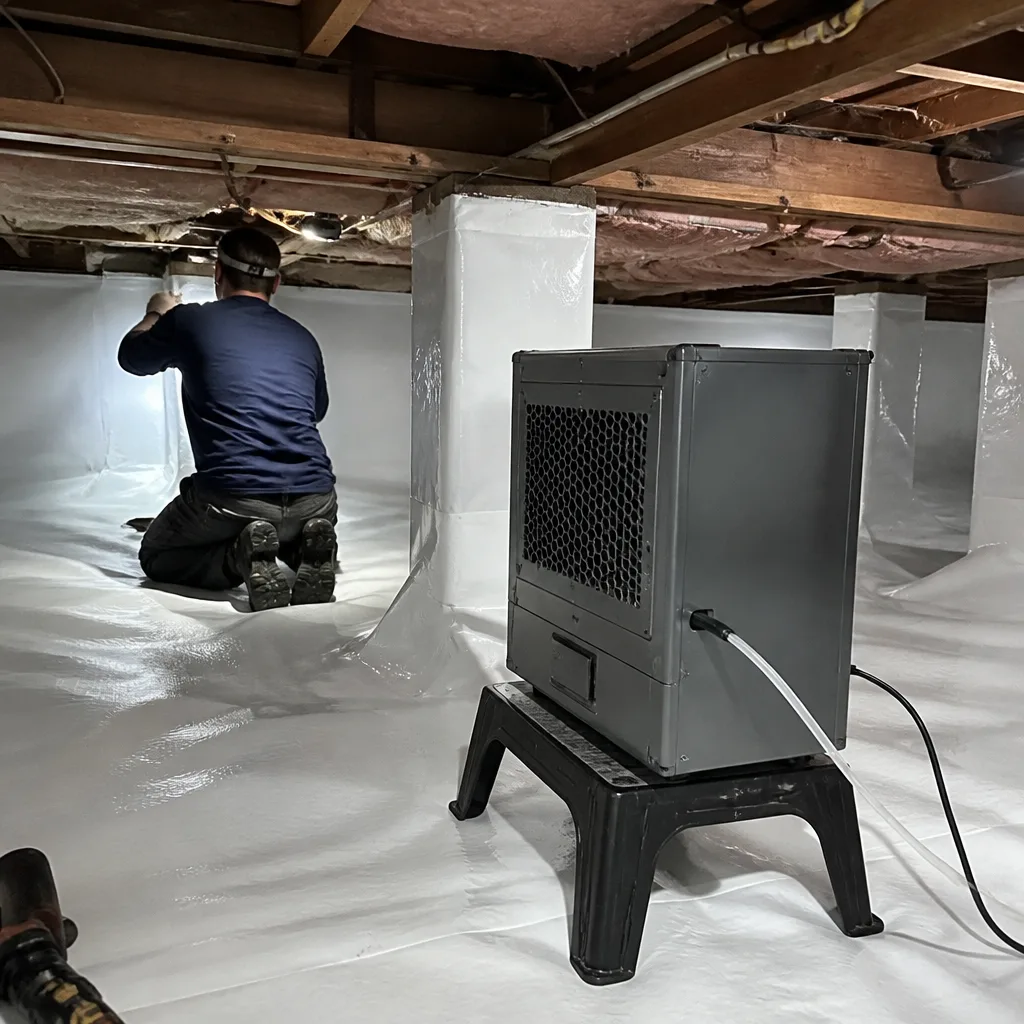
- Crawl space encapsulation with vapor barrier and conditioning. Once you seal a crawl space and add mechanical ventilation or dehumidification, you’re modifying the building’s HVAC strategy. This requires mechanical and building permits in Santa Clara County.
The permit question catches more homeowners than any other. Milpitas requires permits for “alterations” to the building envelope, and the city interprets this broadly. Adding insulation to an unconditioned attic doesn’t always trigger a permit if you’re simply adding depth. But if you’re removing old insulation, modifying framing, or installing a radiant barrier with new electrical for fans, you’re likely in permit territory.
We’ve reviewed competitor estimates where the contractor proposed skipping the permit to save time. Under Haven Standard, we don’t start work without a written scope, and the written scope includes permit status. If a permit is required, it’s in the price. If it’s not required, we document why. That documentation goes in the homeowner’s file, and it’s available if a future buyer’s inspector asks questions.
Spray foam insulation in Milpitas is one of our most requested services, and every job includes the permit, the blower-door verification, and the written warranty before application begins.
DIY That’s Legal But Creates Measurable Risk
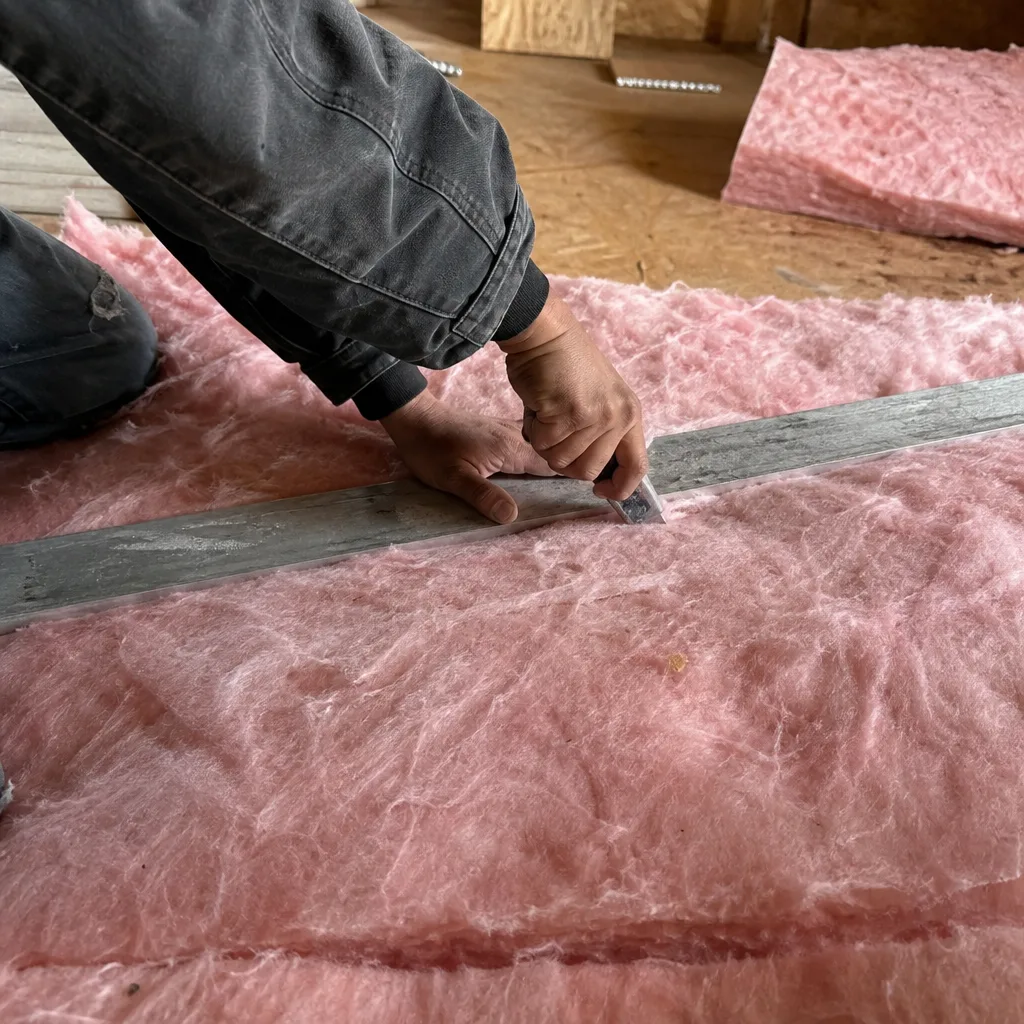
This is the category that generates most of our repair calls. The work is legal. The homeowner is capable. The result is wrong in ways that don’t show up for months or years.
Air sealing without a blower door. You can legally caulk and foam every visible gap in your attic. Without a blower-door depressurization test - a pressurization reading that shows, in one number, how much air your building envelope is losing - you have no way to know if you found the leaks that matter. The biggest bypasses are often hidden under insulation, behind drywall, or at the intersection of framing members where visual inspection is impossible. We’ve tested homes where homeowners spent weekends sealing visible gaps, only to discover their CFM50 dropped by 8%. The remaining 32% of leakage was in locations they couldn’t see.
Installing vapor barriers in the wrong location. In Milpitas’s mild climate, vapor drive is moderate but not negligible. A vapor barrier on the wrong side of an assembly traps moisture in wall cavities. By the time you see mold on drywall, the sheathing behind it has been wet for multiple seasons. We’ve removed insulation in the Sinnott Ranch area and found oriented strand board sheathing that crumbled in our hands - three years of seasonal moisture cycling, hidden until a bathroom remodel exposed it.
Blowing insulation over active rodent soiling. This is more common than you’d think. The attic looks clean from the hatch. The insulation has some discoloration, but it’s old, right? Rodent urine and feces contain pathogens. Blowing new insulation over contaminated material doesn’t neutralize it; it encapsulates it at body temperature, which is optimal for bacterial persistence. We include attic cleaning and rodent proofing as a separate scope item because we’ve seen what happens when it’s skipped.
Compressing batt insulation to fit. R-value is thickness-dependent. A fiberglass batt compressed from 6 inches to 3 inches loses roughly half its rated R-value. It looks installed. It performs like half the insulation you paid for.
These mistakes don’t violate code. They don’t trigger immediate failure. They create slow, expensive problems that surface during inspections, energy audits, or health complaints. The homeowner saved $800 on labor. The remediation costs $4,000-$7,000, and the home sale is delayed six weeks.
Why Air Sealing Is Where DIY Most Often Fails
The single most important step in any insulation project is also the step most homeowners skip or misunderstand. Air sealing comes first. Always. Insulation slows heat transfer. Air sealing stops air movement. Without air sealing, insulation is a filter that catches dust and loses effectiveness over time.
The failure isn’t usually about skill. Caulking a top plate or foaming a wire penetration is straightforward. The failure is about diagnosis. You can’t see air movement. You can feel drafts in living spaces, but the source of those drafts is often 20 feet away in the attic, routed through framing cavities that act as chimneys.
A blower-door test solves this. The fan depressurizes the house to -50 Pascals, amplifying leakage so it can be felt with a bare hand, seen with a smoke pencil, or measured with a calibrated flow hood. The equipment costs roughly $3,500 for a professional-grade unit, plus training to interpret results. Most homeowners don’t own one. Most rental yards don’t carry them.
Without this tool, DIY air sealing becomes a guessing game. We’ve tested homes in the Milpitas Hills area where homeowners sealed every visible gap and still lost 2,800 CFM50 through a single unsealed chase behind a fireplace. They never looked there. Why would they? The chase was finished drywall in the living room, invisible from the attic except for a 4-inch gap at the top plate that was buried under existing insulation.
Our protocol on every attic insulation in Milpitas job is: blower-door test first, seal everything the test reveals, test again to verify, then install insulation. The before-and-after numbers go in the homeowner’s documentation packet. Most competitors don’t publish these numbers. We do, because they’re the only proof that the air sealing actually worked.
Under Haven Standard, we don’t blow insulation over an unsealed attic floor. Not as an upsell. Not as an option. It’s a hard prerequisite. The crew is trained to stop and call the office if they arrive and find bypasses that weren’t visible during the estimate. We’ve postponed jobs to seal first. The customer doesn’t always like the delay, but they appreciate the result when their PG&E bill drops and their home passes the next energy audit.
The Attic Bypass Problem: Quantified for Milpitas Homes
Let’s talk numbers. In a typical pre-2000 Milpitas home - which describes roughly 60% of the housing stock in the city - attic bypasses account for an estimated 30-40% of total air infiltration. This isn’t our estimate; it’s the range consistently reported in building science literature for homes of this vintage and construction type.
Here’s what happens when you add insulation without sealing:
| Scenario | Estimated Air Leakage (CFM50) | Effective Insulation Performance |
|---|---|---|
| Unsealed attic, no added insulation | 4,000-5,500 | Existing R-value, degraded by air movement |
| Unsealed attic, new blown insulation added | 3,000-4,100 | New R-value, still degraded by bypass leakage |
| Sealed attic, new blown insulation added | 1,800-2,500 | New R-value, performing at spec |
The middle row is the DIY trap. Adding insulation without sealing reduces leakage by roughly 15-25%, not because the insulation seals anything, but because it adds filtration resistance. The bypasses are still there. They’re just harder to find. The homeowner sees a lower energy bill for the first season, maybe two, because some improvement happened. Then the bypasses continue to move conditioned air, the insulation settles around them, and performance degrades. By year three, the bill is back to baseline, and the homeowner wonders why the “upgrade” didn’t last.
We’ve measured this. In a 1978 ranch home near Jacklin Road, the pre-work blower-door reading was 4,200 CFM50. The homeowner had added blown fiberglass himself two years prior. After we removed the new insulation, sealed 37 bypasses (top plates, can lights, duct boots, a plumbing chase), and reinstalled, the reading was 2,100 CFM50. The insulation was the same R-value. The performance difference was entirely air sealing.
That homeowner’s documentation packet includes both numbers, photos of every sealed bypass, and the written scope. When he sells, he has proof of performance. That’s worth more than any verbal assurance.
Permit Triggers in Milpitas: When Insulation Work Needs City Approval
Milpitas Building Division follows the 2022 California Building Code with local amendments. The permit threshold isn’t always obvious, and the penalty for getting it wrong is increasingly severe in a disclosure-heavy market.
No permit required: Adding insulation to an existing attic or wall cavity without altering framing, electrical, or plumbing. This includes blowing additional fiberglass or cellulose over existing material, or installing batts in accessible stud bays during cosmetic work.
Permit required:
- Removing and replacing insulation when the removal exposes framing or mechanical systems
- Installing spray foam of any thickness in new construction or additions
- Modifying the thermal envelope of an addition or alteration (this includes enclosing a previously unconditioned attic or crawl space)
- Installing a radiant barrier with associated electrical work for ventilation fans
- Crawl space encapsulation that includes vapor barrier, conditioning, or mechanical ventilation
The resale complication is what most homeowners miss. California Civil Code Section 1102 requires sellers to disclose material facts affecting property value. Unpermitted work that required a permit is a material fact. If a buyer’s inspection reveals unpermitted insulation work, the seller must either obtain a retroactive permit (which may require opening walls or removing insulation for inspection), disclose the unpermitted status and accept a price reduction, or risk the buyer walking.
In Milpitas’s competitive market, where median home prices exceed $1.2 million, a six-week permit delay can cost a seller their backup offer. We’ve been called in to document existing work for disclosure packets, and we’ve been called in to remediate unpermitted installations that failed inspection. The cost of doing it right the first time is always lower.
Our written scope specifies permit status for every task. If we’re doing work that requires a permit, we pull it. If we’re doing work that doesn’t, we note that in the documentation. The homeowner files it with their other records. It’s not exciting paperwork, but it’s the difference between a smooth sale and a renegotiation.
The Hybrid Approach: Splitting the Work With a Contractor
Some homeowners want to participate without taking on the full liability. The hybrid approach can work if the division of labor is clear and the contractor agrees to verify the prep work before proceeding.
Here’s a realistic split for a typical Milpitas 1,500-2,000 square foot attic:
Homeowner handles:
- Removing stored items and clearing the attic floor
- Vacuuming loose debris (with HEPA filtration; attic dust is fine particulate)
- Identifying and marking areas of concern (water stains, rodent evidence, damaged framing)
- Basic prep like removing old light fixtures that will be replaced
Contractor handles:
- Blower-door test and bypass location
- Air sealing of top plates, can lights, duct penetrations, and plumbing chases
- Post-seal blower-door verification
- Insulation installation with proper depth and density
- Documentation and photo record
Timeline and cost implications:
Prep day for the homeowner: 4-6 hours. The attic must be entirely clear; partial clearing wastes the contractor’s time and may trigger a return trip charge.
Contractor scope for a 1,500 sq ft attic with typical bypass density: one day for air sealing and blower-door verification, half day for insulation installation. Total crew time: 16-20 hours.
Cost range in the Milpitas market for this hybrid approach: $2,800-$4,200 for air sealing and blown fiberglass or cellulose to R-49, depending on bypass complexity and access difficulty. See our insulation cost breakdown for Milpitas homeowners for 2026 pricing details. Spray foam would be additional. The homeowner saves $400-$600 in labor by handling prep, but the real value is in the verification: the contractor’s blower-door numbers prove the sealing worked, and the documentation protects the homeowner at resale.
We offer Topside Attic Insulation Milpitas home estimates that specify exactly what the homeowner can prep and what we’ll verify. Not every contractor will work this way; some require full-service contracts to warranty the result. We structure our scope so the division is clear, the verification is included, and the documentation covers the entire assembly.
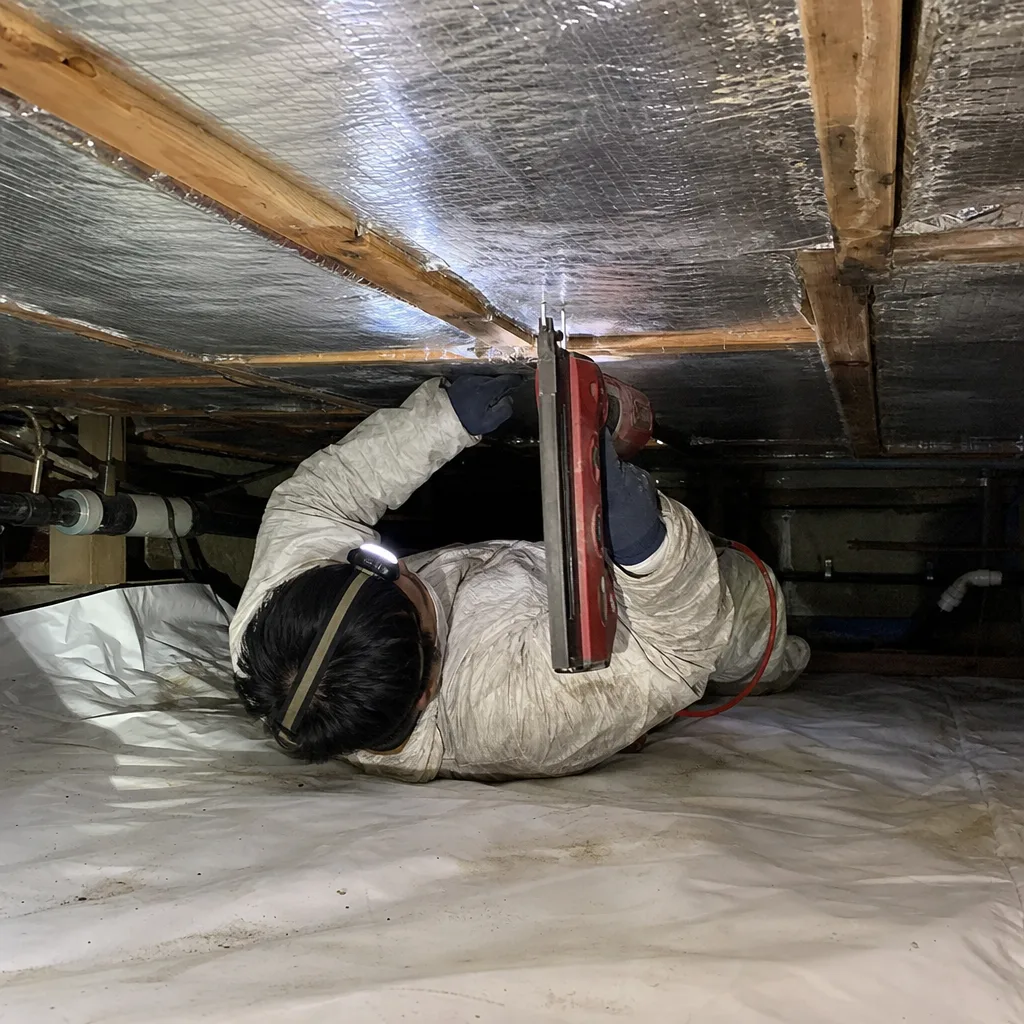
For crawl space encapsulation and vapor barrier in Milpitas, the hybrid approach is less common because the vapor barrier installation requires heat-seaming and mechanical fastening that most homeowners don’t have equipment for. But attic work is different, and we’re transparent about where homeowner labor can reduce cost without increasing risk.
Common Mistakes to Avoid
- Assuming more insulation is better insulation. R-value has diminishing returns, and compressed or moisture-compromised insulation performs below spec. In Milpitas’s climate zone, R-38 to R-49 in attics is the prescriptive target; beyond that, air sealing yields more improvement per dollar.
- Sealing attic vents to “keep heat in.” Attic ventilation is required by code for moisture control. Blocking soffit or ridge vents traps humidity and voids shingle warranties. We’ve found sealed vents in homes near the Great Mall, where homeowners misunderstood ventilation as energy loss.
- Installing recessed can lights without IC-rated covers. Standard can lights protruding into insulation create fire hazards and bypasses. IC-rated airtight enclosures are required for contact with insulation.
- Ignoring the garage attic. In Milpitas’s attached-garage homes, the garage attic often shares a wall with conditioned space. Unsealed garage attic bypasses pull fumes and unconditioned air into bedrooms above. This is a health and safety issue, not just an efficiency issue.
- Using the wrong insulation for the application. Fiberglass in a damp crawl space absorbs moisture and loses R-value. Cellulose in a rodent-active attic becomes nesting material. We specify CertainTeed, GreenFiber, or other appropriate materials based on conditions, not habit.
- Skipping the post-work verification. Every insulation job should end with proof of performance. If your contractor doesn’t offer blower-door numbers or thermal imaging, you’re buying a product, not a result.
When to Call a Professional
Call a professional when the work affects your home’s air barrier, moisture management, or code compliance. That’s not every job, but it’s more jobs than most homeowners initially think. Specifically: if your home was built before 2000 and hasn’t had a blower-door test, if you’re considering spray foam, if you’re modifying the building envelope, or if you’re preparing to sell within five years.
Topside Attic Insulation Milpitas offers free estimates in Milpitas - call (650) 770-8707. Explore more guides & resources on attic insulation and home efficiency. Every estimate includes a written scope, a written price before any work starts, and a documented photo record. On applicable jobs, we provide before-and-after blower-door numbers so you can verify the result. The 365-Day Done Right Promise applies to all completed work, and a live person answers calls 24/7.
Frequently Asked Questions
Most attic insulation jobs in a 1,500-2,000 square foot Milpitas home run between $2,800 and $5,500, depending on whether air sealing is needed, the insulation type (blown fiberglass, cellulose, or spray foam), and access difficulty. Spray foam runs higher, typically $4,500-$8,000 for the same footprint. We provide a written price before any work starts - no exceptions - and offer a Free Second Opinion on any written estimate from a competitor. Call (650) 770-8707 for an exact quote; estimates are free.
You can, but only if the old insulation is clean, dry, uncompressed, and free of rodent evidence. In Milpitas’s climate, old fiberglass often settles to 50-70% of original thickness and may contain dust from seasonal Santa Clara Valley air patterns. We inspect before recommending overlay; sometimes removal and replacement performs better long-term. If the old insulation is contaminated, adding over it traps pathogens and odors. Call us for an inspection - the photo record is included.
Adding depth to existing attic insulation typically does not require a permit if you’re not altering framing, electrical, or plumbing. Removing old insulation, installing spray foam, modifying the thermal envelope, or encapsulating a crawl space does require permits through the Milpitas Building Division. Unpermitted work that required a permit must be disclosed at sale and can complicate transactions. Our written scope specifies permit status for every task.
Repair is cheaper only when the damage is localized - a single wet area from a resolved roof leak, or a small compressed section from storage. For widespread settling, contamination, or insulation installed before 1990, replacement usually costs less per unit of performance because you’re not layering compromised material. We evaluate both options and document our recommendation with photos. Most Milpitas homes built before 2000 benefit from removal, sealing, and replacement rather than patching.
The only reliable method is a blower-door test - a pressurization reading that shows, in one number, how much air your building envelope is losing. Visual clues include dirty insulation (filtering bypassed air), temperature variations on a thermal camera, or drafts near ceiling fixtures during windy days. But visual inspection misses the leaks that matter most. We’ve found that homeowner-identified leaks account for about 20% of total leakage; the other 80% requires depressurization testing to locate. Our estimates include blower-door testing on applicable jobs.
We don’t perform same-day installation from an initial estimate. Under Haven Standard, every job requires a written scope, a written price, and your approval before work begins. This protects both parties and ensures the documentation is complete. For urgent situations - failed inspections, pending home sales - we can often schedule within 48-72 hours. Emergency calls are answered by a live person 24/7 at (650) 770-8707.
The Bottom Line
DIY insulation is viable for clean, simple, sealed attics where you’re adding depth and nothing else. For everything else in Milpitas - air sealing, spray foam, crawl space work, or any home where the building envelope hasn’t been tested - professional installation provides documented performance, code compliance, and resale protection. The cost difference is smaller than it appears when you factor in equipment rental, disposal, and the risk of moisture or bypass problems that surface later. The key question isn’t whether you can do it yourself. It’s whether doing it yourself leaves you with proof that it worked.
Written by Wes Okafor, Owner at Topside Attic Insulation Milpitas, serving Milpitas since 2016.