
Last updated September 24, 2026
Attic Insulation Maintenance Checklist for Milpitas Homeowners
A disconnected flex duct in the attic can dump conditioned air directly into open insulation, compressing and moisture-loading it within a single cooling season. This defect costs nothing to check and is missed on almost every visual-only inspection. In Milpitas, where summer attic temperatures regularly exceed 140°F and winter rains test every penetration, insulation fails in response to specific events, not calendar dates. This checklist is built around those failure triggers: post-pest treatment, post-HVAC service, after any attic access, after roof repairs, and after significant rain events. You’ll learn how to read compression patterns, inspect attic bypasses, and document findings a contractor can actually use. For a deeper dive, see our Complete Guide to Insulation in Milpitas.
Quick Answer
Attic insulation maintenance in Milpitas should be triggered by five specific events, not annual calendar dates. Homeowners should check insulation depth at multiple points, inspect for moisture compaction versus normal settling, verify all duct connections, examine attic bypasses at top plates and penetrations, and document findings with photos. Most issues that degrade performance, disconnected ducts, reopened bypasses, pest contamination, are visible and measurable without specialized equipment.
Table of Contents
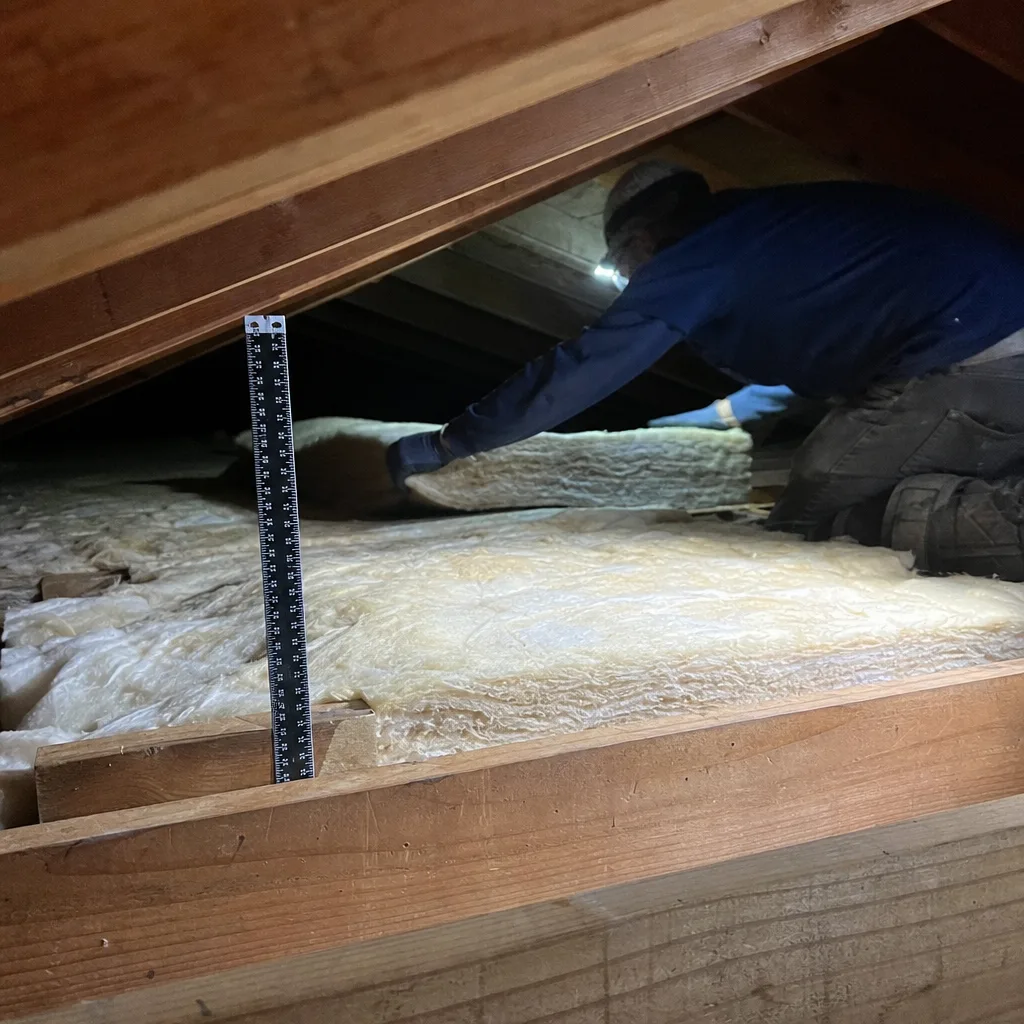
- The Five Event-Triggered Inspection Points
- How to Read Insulation Compression: Settled vs. Moisture-Compacted
- Attic Bypass Inspection: What to Check Every Time
- Measurements You Can Document Yourself
- Milpitas Climate Factors That Accelerate Insulation Failure
- Owner-Serviceable Findings vs. Licensed Contractor Required
- Common Mistakes to Avoid
- When to Call a Professional
- Frequently Asked Questions
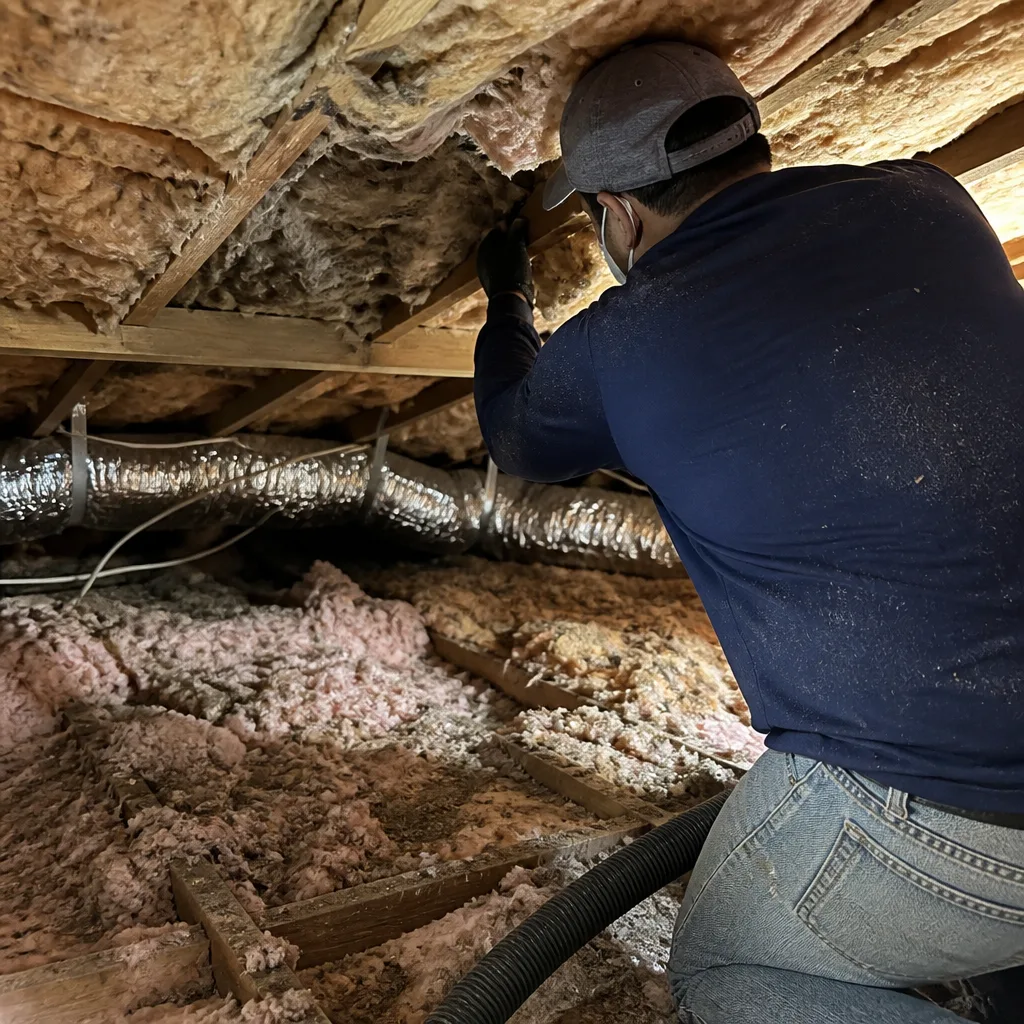 Before
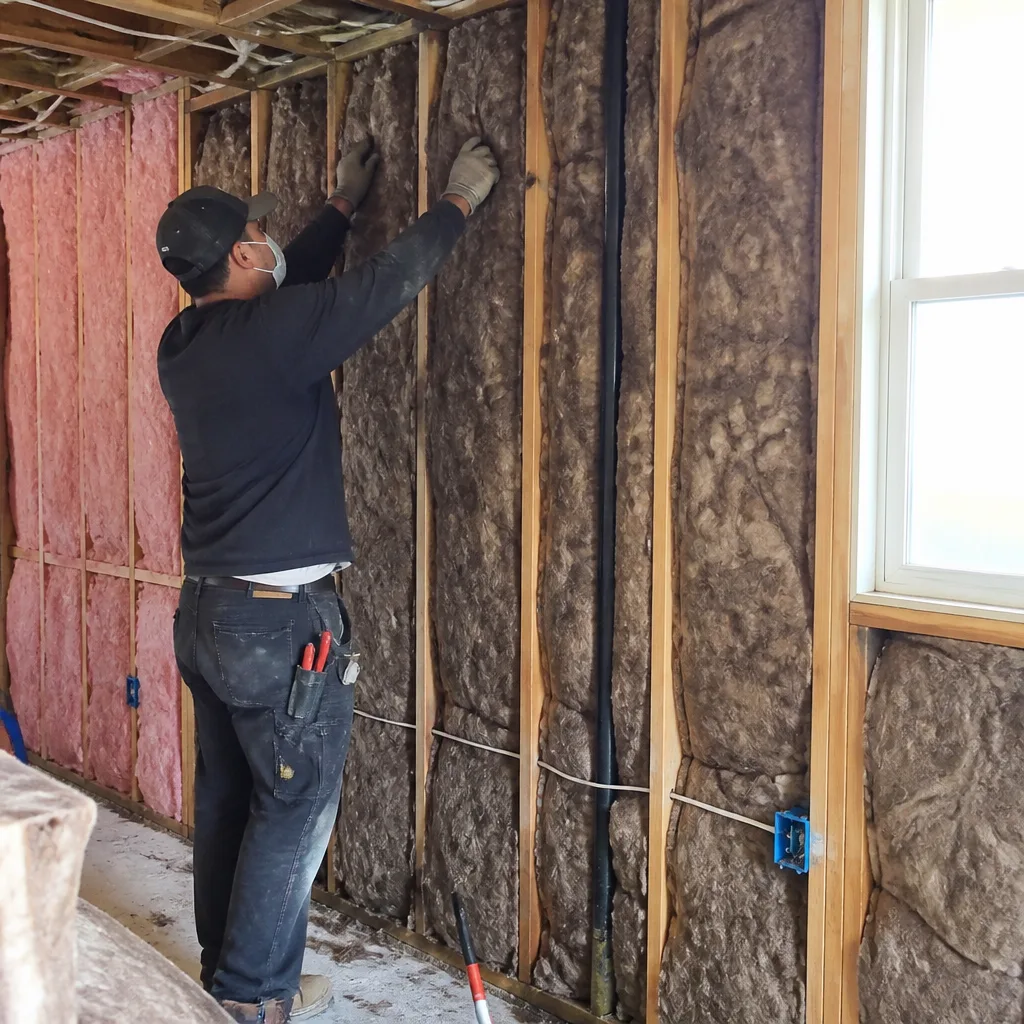 After
AfterThe Five Event-Triggered Inspection Points
Most attic insulation guides tell you to inspect “every year” or “every fall.” That’s not how insulation actually fails. In our work across Milpitas, from the older ranch homes in Milpitas Gardens to the newer construction near Dixon Landing, we’ve found that insulation degradation tracks to specific disruptive events. Inspect after these five, or you’re inspecting for problems that don’t exist while missing the ones that do.
1. After Pest Treatment
Rodents compress insulation trails into hard-packed runways, and their waste introduces moisture and odor issues that don’t resolve with trapping alone. After any pest control visit, check:
- Insulation depth along joist bays near entry points - compressed to less than half original depth indicates active use
- Staining patterns - dark, localized discoloration suggests urine saturation requiring removal, not just topping off
- Vapor barrier integrity - gnawed or displaced polyethylene sheeting beneath blown-in material
In Milpitas, roof rat activity peaks October through December. We’ve treated attics in the Sunnyhills area where compressed trails reduced effective R-value by 40% before the homeowner noticed any temperature issue.
2. After HVAC Service
Technicians working in the attic disturb insulation, disconnect flex ducts accidentally, and occasionally leave access panels ajar. The conditioned air leakage that follows is the fastest way to destroy insulation performance. After any HVAC service:
- Verify every flex duct connection at the plenum and register boots - the metal collar should be fully seated with the draw band tight
- Check that the attic access hatch closes fully against its weatherstrip
- Look for insulation displacement around the air handler platform - a 2-foot cleared circle is common, but should be restored
- Confirm the condensate drain line hasn’t been knocked loose - water dripping into insulation creates localized compaction
3. After Any Attic Access
Every footstep compresses fiberglass or cellulose. After cable installation, recessed light replacement, or any other attic entry:
- Fluff compressed areas with a garden rake - don’t add new material over compressed old material
- Check that temporary boards or plywood walking surfaces were removed - they create thermal bridges
- Verify insulation dams around the access opening are intact - without them, loose-fill spills into the hatch every time it opens
4. After Roof Repair
New decking, vent installation, or shingle replacement inevitably displaces insulation and may introduce nail penetrations or debris. Inspect:
- Insulation depth in all bays adjacent to the work area - roofers rarely restore what they moved
- New nail penetrations through the deck - each is a potential thermal bypass and moisture entry point
- Flashing details at new or disturbed vents - interior signs of water entry often appear first on insulation
5. After Significant Rain Events
Milpitas sees concentrated winter rains, particularly January through March. After any storm with sustained winds above 25 mph or visible water intrusion elsewhere in the home:
- Check insulation in valleys and near penetrations for darkening or clumping - even minor roof leaks may not reach the ceiling below
- Inspect the attic side of all protrusions: plumbing vents, chimney crickets, exhaust fan housings
- Look for wind-driven rain entry at gable vents - common in the hill-exposed homes near Calaveras Hills
How to Read Insulation Compression: Settled vs. Moisture-Compacted
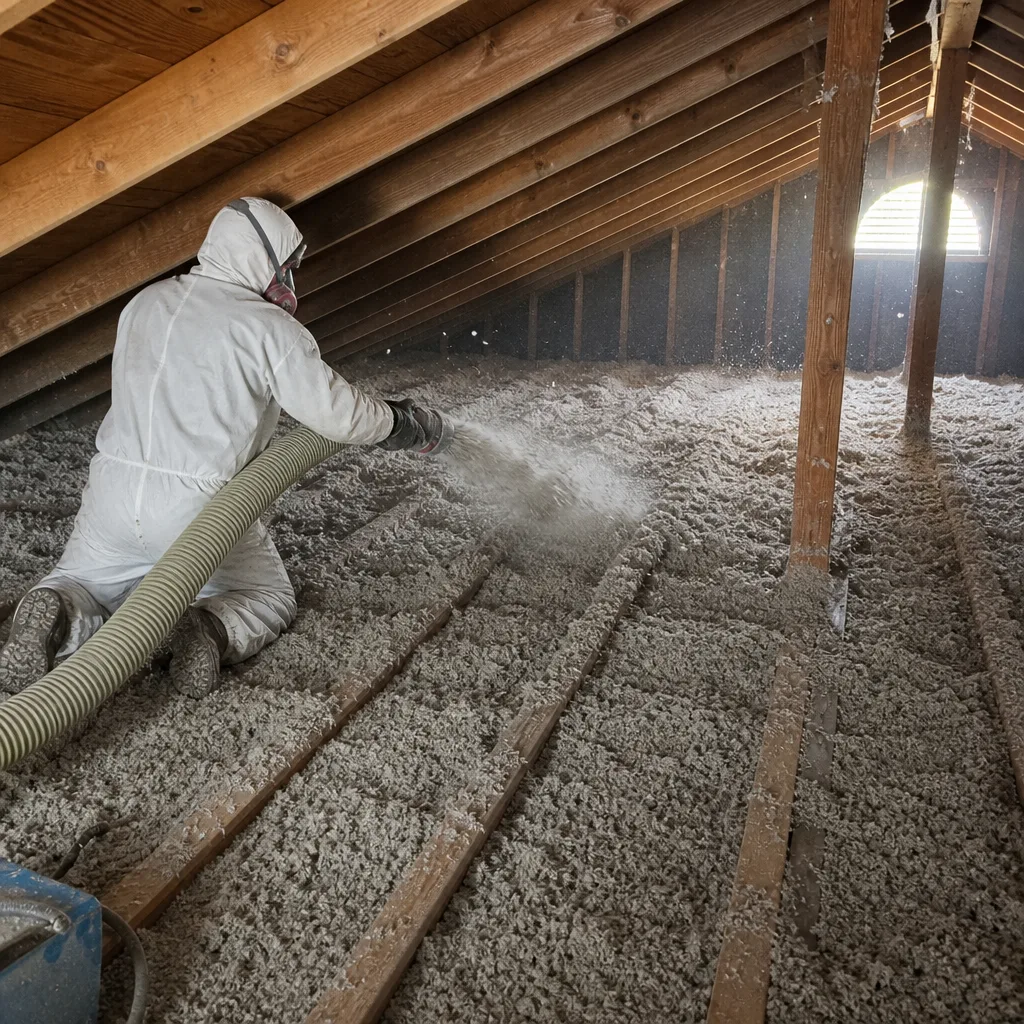
Not all compression is failure. Blown-in fiberglass and cellulose both settle 10-20% in the first year after installation. That’s normal and accounted for in depth requirements. Moisture compaction is different, and it’s the dominant cause of performance loss we see in Milpitas attics.
Normal Settling Characteristics
- Uniform depth reduction across the attic - not localized
- Material remains fluffy and resilient when probed with a yardstick
- No odor, no discoloration
- Depth reduction proportional to original installed depth - a 14-inch install settling to 12 inches is typical
Moisture Compaction Characteristics
- Localized to specific bays or areas, often beneath ductwork or near penetrations
- Material feels dense and may clump together - a yardstick stands upright when pressed in
- Color darkening, from cream or gray to yellow-brown or darker
- Musty or sour odor, sometimes detectable from the attic access before full entry
- May show white or gray mold growth on the surface - this requires professional remediation, not DIY
The Duct-Leakage Compression Pattern
This is the pattern most homeowners miss, and it’s the one our opening example referenced. When a flex duct disconnects or leaks at a collar, conditioned air blows directly into the insulation layer. The air is humid in cooling season, and the continuous airflow drives moisture into the fiberglass or cellulose. The result: a cone-shaped zone of compaction radiating from the leak point, often 3-6 feet in diameter, with the densest compaction directly beneath the duct.
To identify it: walk the attic with a flashlight held low, parallel to the insulation surface. Look for texture changes - fluffy material transitioning abruptly to hard-packed areas. Probe with a yardstick. Normal settled insulation resists gently; moisture-compacted material feels like packed snow.
In Milpitas, with cooling-season attic temperatures regularly reaching 140-150°F, a disconnected supply duct can destroy the insulation beneath it in 6-10 weeks of summer operation. We’ve documented this pattern in homes throughout the Milpitas Ranchos and Parktown neighborhoods.
Attic Bypass Inspection: What to Check Every Time
Attic bypasses - air pathways between conditioned space and the attic - are the single largest source of energy loss in most homes, and they destroy insulation performance from below. Warm, humid interior air exfiltrating through bypasses carries moisture that condenses on cold sheathing in winter and overloads insulation with humidity year-round.
Every insulation maintenance check should include a bypass inspection. You don’t need a blower door - though that’s the definitive test - to find the major ones.
Top Plates
The top of every interior wall has a horizontal framing member, the top plate, where drywall meets framing. In most Milpitas homes built before 2010, this joint is unsealed. Look for:
- Visible gaps between drywall and top plate - often detectable as dark lines where dust has filtered through
- Insulation pulled back or absent directly above top plates - the gap is the bypass, and missing insulation makes it worse
- Light visible from below when the attic is dark - the most definitive check
Recessed Light Housings
Non-IC-rated recessed cans are open holes to the attic. Even IC-rated housings often have gaps around the trim ring. Check:
- Whether housings are rated “IC” (insulation contact) - marked on a label inside the housing
- Insulation clearance around non-IC cans - should be 3 inches minimum, which creates a thermal bypass
- Pre-formed covers or boxes over IC-rated cans - these should be intact, not cracked or displaced
Milpitas homes from the 1960s-1980s in neighborhoods like Milpitas Gardens and Beresford Park frequently have non-IC cans with no clearance maintenance. The conditioned air loss is continuous and substantial.
Plumbing and Electrical Chases
Vertical penetrations for plumbing vents, wiring, and chimney flues create large bypasses:
- Plumbing vent stacks - the gap between pipe and framing should be sealed with fire-rated caulk or foam
- Electrical wiring penetrations - multiple wires through a single oversized hole is common and leaky
- Chimney chases - often the largest bypass in the house, frequently completely open to the attic
Exhaust Fan Housings and Duct Terminations
Bathroom and kitchen exhaust fans should duct to exterior, not terminate in the attic. Check:
- Flex duct connected to fan housing - not lying disconnected nearby
- Duct termination at a roof or gable vent - not simply dumped into insulation
- Damper flap functional - should open under fan operation, close when off
We find 30-40% of Milpitas homes have at least one bath fan dumping moist air directly into attic insulation. The moisture load is severe and localized.
Measurements You Can Document Yourself
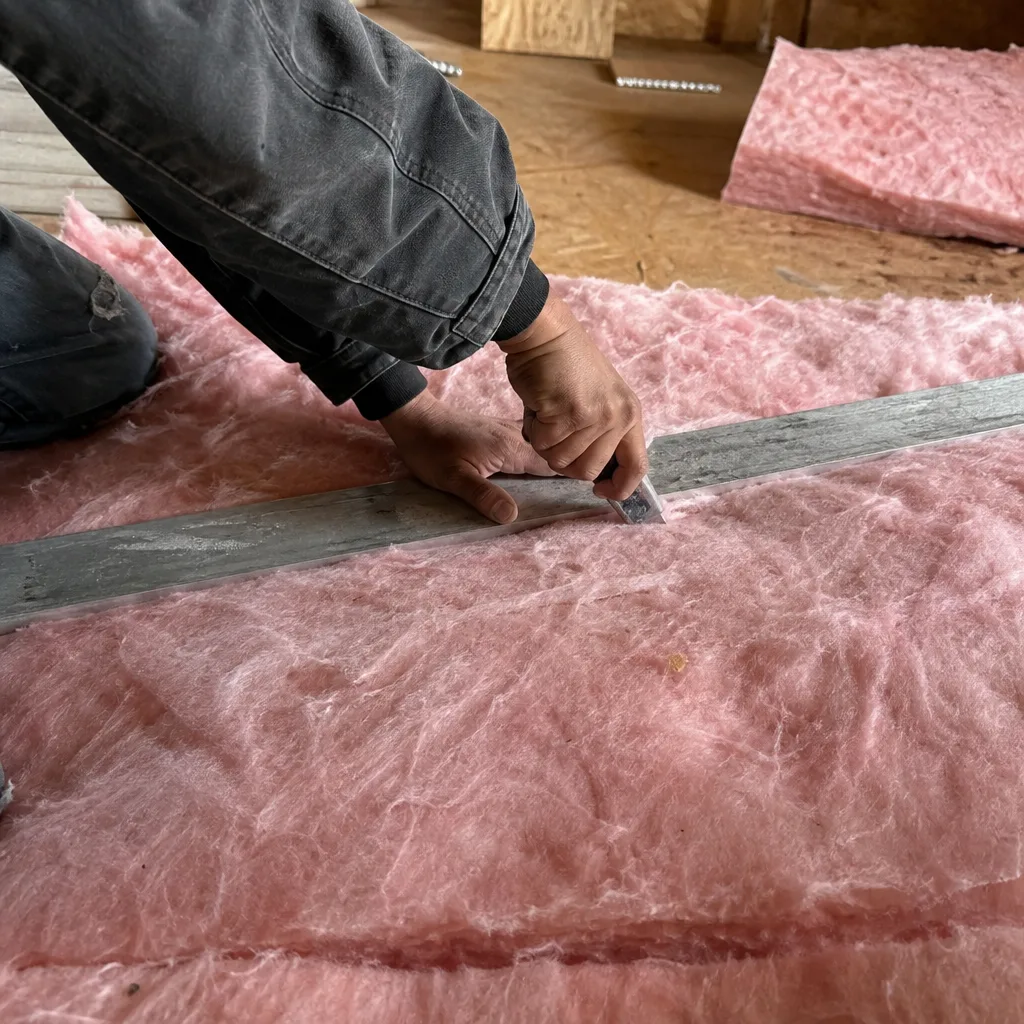
Documentation transforms a vague complaint into actionable scope. When you call a contractor with specific measurements, the conversation changes - you get accurate pricing faster, and you can verify that the work addressed what you found.
Depth Measurements
Use a yardstick or tape measure, not a ruler. Measure at:
- Center of the attic, away from eaves and penetrations
- Directly above the attic access hatch - most disturbed area
- Beneath any duct runs or equipment platforms
- At eaves, where depth is often reduced by vent baffles or wind washing
- In any area showing discoloration, compression, or pest activity
Record each measurement with its location - “12 inches, center bay, north end” - and the date. California Title 24 recommends R-38 to R-49 for attics in Milpitas’s climate zone, which translates to approximately 12-15 inches of blown fiberglass or 10-13 inches of blown cellulose, depending on product density. Knauf and CertainTeed blown fiberglass products we use in Milpitas typically achieve R-38 at 12.5-14 inches.
Vapor Barrier Condition
If your home has a vapor barrier - polyethylene sheeting, often found beneath batt insulation in older homes or as part of a crawl space encapsulation system:
- Percent coverage - estimate the fraction of attic floor covered
- Tears or displacement - note location and approximate size
- Condition at penetrations - should be sealed around plumbing, electrical
Modern practice in Milpitas, consistent with our Crawl Space Encapsulation & Vapor Barrier in Milpitas work, favors vapor barriers on the warm-in-winter side of assemblies, with careful air sealing taking priority over barrier perfection.
Duct Connection Integrity
For each duct visible in the attic:
- Connection status at plenum and boot - connected, disconnected, or loose
- Draw band condition - present, tight, or missing
- Insulation sleeve integrity - intact, torn, or displaced
- Kinks or sharp bends that restrict airflow
Photo Documentation
Take dated photos of:
- Overall attic from access point - establishes layout and general condition
- Each measurement location - yardstick in frame for scale
- Any compression, discoloration, or damage areas
- All bypasses found - even if you’re unsure they’re significant
- Duct connections - both connected and any disconnected
This is the documentation equivalent of what we provide on every job: a Documented Photo Record, included on every visit, not available on request. When you bring us photos with measurements, we can often provide a written price before any work starts - Haven Standard Clause 1 - without a preliminary site visit.
Milpitas Climate Factors That Accelerate Insulation Failure
Milpitas sits in Santa Clara Valley with specific conditions that stress attic assemblies harder than nearby Bay Area locations.
High Summer Attic Temperatures
Dark shingle roofs in full sun reach surface temperatures of 170-190°F. Attic air temperatures follow, typically 40-50°F above ambient. On a 95°F Milpitas summer day, that’s 135-145°F in the attic. This extreme delta-T drives moisture from any source - duct leaks, bypasses, roof leaks - into insulation faster than in cooler coastal climates. It also degrades some insulation binders over decades of thermal cycling.
Winter Rain Concentration
Milpitas receives most annual rainfall November through March, often in concentrated events. The rapid wet-dry cycling tests roof penetrations and can overwhelm marginal flashing. Insulation that gets wet in January may not fully dry before the next storm, especially if attic ventilation is compromised by blocked soffit vents or insufficient exhaust venting.
Diurnal Temperature Swings
The valley location produces larger day-night temperature swings than coastal Bay Area cities. This thermal pumping drives more air exchange through bypasses and can loosen sealant and tape over time. We’ve found reopened bypasses in 15-year-old Milpitas homes that were properly sealed at construction.
Local Wind Patterns
Hill-exposed homes in the Calaveras Hills and surrounding areas see higher wind-driven rain loads. Gable vents and improperly flashed roof penetrations are vulnerable. The wind also creates pressure differentials that increase bypass airflow - a 10 mph wind across a roof can induce significant attic pressure variation.
Soil and Foundation Types
Milpitas has expansive clay soils in many areas. Foundation movement can crack plaster and drywall, creating new bypass paths at top plates and electrical penetrations. Homes in areas with significant foundation movement should inspect bypasses more frequently after the five main triggers.
Owner-Serviceable Findings vs. Licensed Contractor Required
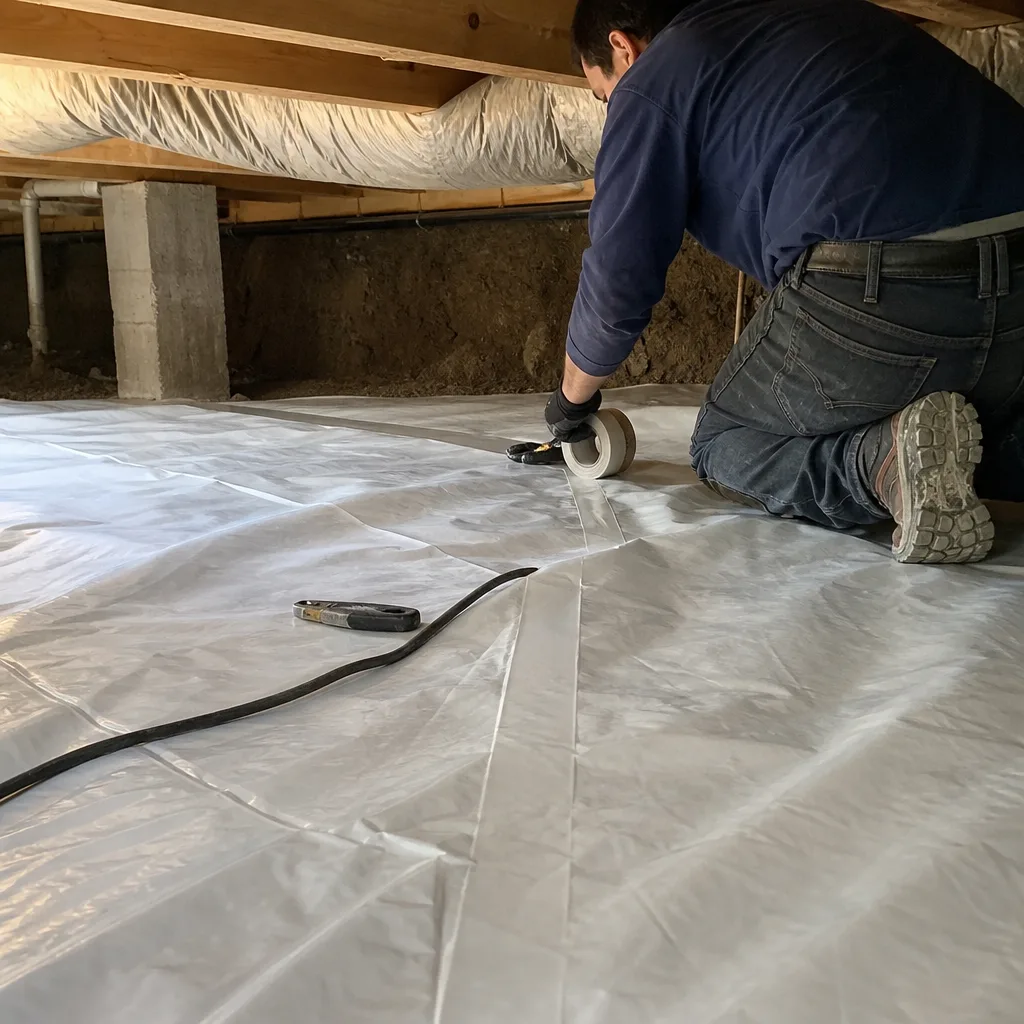
Some maintenance tasks are appropriate for homeowners. Others require specific licensing, and a few are hazardous enough that we won’t describe DIY methods. See our DIY vs Professional Insulation guide for help deciding.
Owner-Serviceable
- Visual inspection and documentation - all measurements, photos, and notes
- Fluffing lightly compressed insulation with a garden rake - not adding material, just restoring loft to displaced areas
- Replacing attic access hatch weatherstripping - foam tape, available at hardware stores
- Clearing soffit vents of insulation blockage - use a yardstick, not compressed air
- Reconnecting a fully disconnected flex duct at a collar - if you can reach it safely and the connection is straightforward
Licensed Contractor Required
- Adding or replacing insulation - California requires a C-2 insulation and acoustical license for installation
- Air sealing with foam or caulk at bypasses - fire-rated materials required at many locations, code knowledge essential
- Any electrical work - including replacing non-IC recessed cans with IC-rated units
- Mold or pest contamination remediation - requires specialized handling and disposal
- Roof leak repair - C-39 roofing license
Do Not Attempt
- Disturbing vermiculite insulation - may contain asbestos; requires testing and abatement contractor
- Walking on anything other than joists or installed walking boards - ceiling drywall won’t support weight
- Working in attics during extreme heat - heat stroke risk above 120°F, common in Milpitas summer attics
Our Attic Insulation in Milpitas service includes the full inspection, documentation, and correction of all these issues. We publish before-and-after blower-door numbers on every applicable job so you can verify the air-sealing result.
Common Mistakes to Avoid
- Adding new insulation over compressed old material without addressing the cause. The compression will recur, and you’ll have paid for material that doesn’t perform. Always identify why compression happened - duct leak, moisture, pest activity - before adding depth.
- Inspecting only from the attic access hatch. The hatch area is the most disturbed, most compressed, least representative section of the attic. Crawl or walk to at least three distant points for accurate depth measurement.
- Ignoring bypasses because insulation “looks fine.” A fully insulated attic with open bypasses can lose more energy than an under-insulated attic that’s properly sealed. The bypass inspection is not optional.
- Assuming uniform depth means uniform performance. Wind washing at eaves, thermal bridging at framing members, and localized compression create performance variation not visible from a single measurement. Multiple measurement points are essential.
- Delaying inspection after a trigger event. The duct disconnection, roof leak, or pest entry that degrades insulation does cumulative damage with every day of delay. Inspect within two weeks of any trigger event.
- Using a moisture meter without understanding readings. Wood moisture content and insulation moisture content read differently, and meters vary by type. A “safe” reading on one material may indicate failure in another. When in doubt, document with photos and call for assessment.
- Assuming newer homes don’t need inspection. Milpitas construction from 2015-2022 in developments near McCarthy Ranch and elsewhere often shows the same bypass and duct issues as older housing. Building code compliance at inspection doesn’t guarantee performance after occupancy.
When to Call a Professional
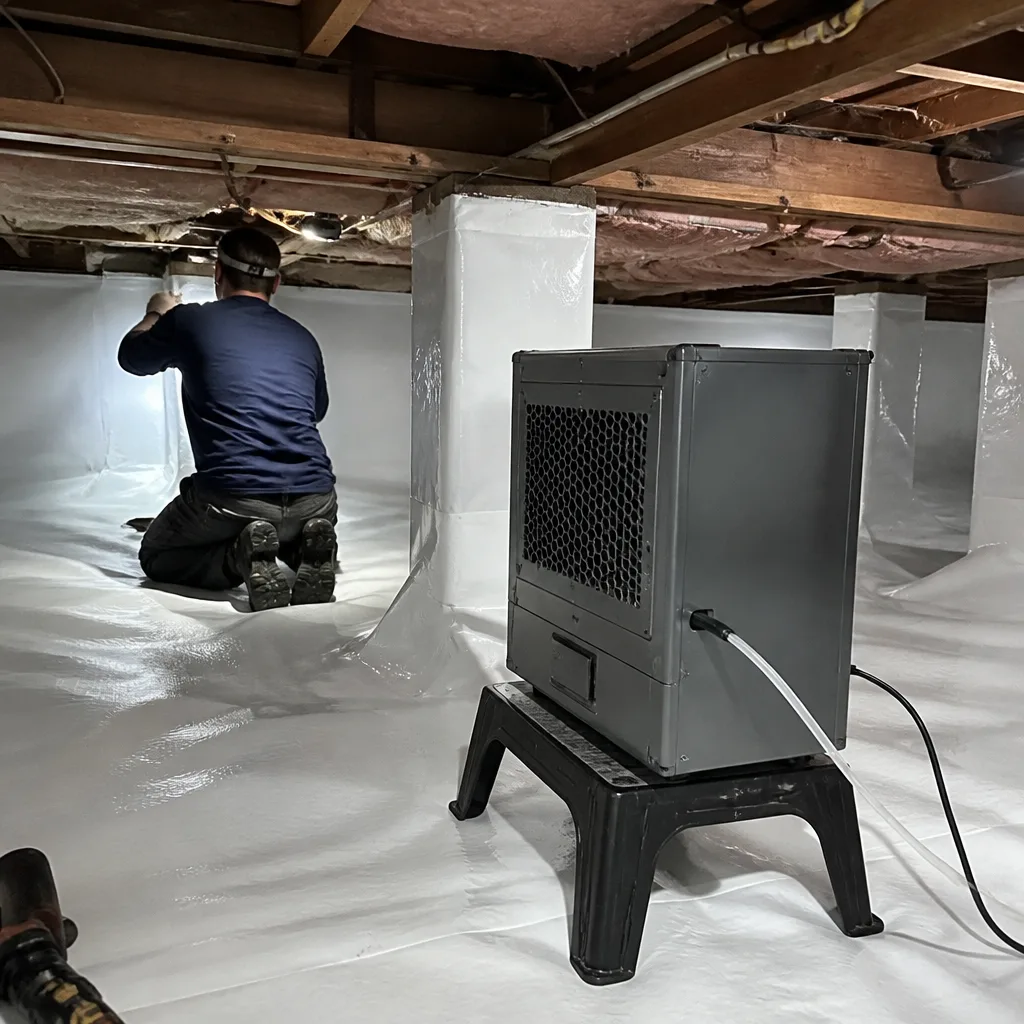
Call a licensed insulation contractor when you find moisture-compacted insulation, mold growth, pest contamination, disconnected ducts you can’t safely reach, or bypasses beyond simple weatherstripping replacement. Also call when your documentation shows depth below R-38 equivalent, or when you’ve had two or more trigger events without professional assessment.
Topside Attic Insulation Milpitas offers free estimates in Milpitas - call (650) 770-8707. We provide a written price before any work starts, a Documented Photo Record on every visit, and before-and-after blower-door numbers on applicable jobs so you can verify the air-sealing result. Our 365-Day Done Right Promise applies to all completed work.
Frequently Asked Questions
Check after the five trigger events: pest treatment, HVAC service, any attic access, roof repair, and significant rain. Time-based annual inspections miss event-driven damage and waste effort on unchanged attics. If none of these events occur, a biennial visual check from the access is sufficient for most Milpitas homes.
Settled insulation is uniformly reduced in depth, remains fluffy when probed, and shows no discoloration or odor. Moisture-compacted insulation is localized, feels dense and clumped, often darkens, and may smell musty. Settled insulation performs as designed; moisture-compacted insulation has lost significant R-value and may require removal.
Yes, but only after addressing the cause of any compression or damage, and only if the old material is dry and uncontaminated. Adding new Rockwool or fiberglass over moisture-compacted or pest-contaminated old material traps the problem and wastes the new investment. A professional assessment removes the guesswork.
Most attic insulation jobs in a typical Milpitas single-family home run between $2,800 and $6,500, depending on existing material condition, accessibility, and whether air sealing is included. Removal and replacement of contaminated material adds $1,500-$3,000. Call (650) 770-8707 for a written price before any work starts - estimates are free.
California Title 24 recommends R-38 to R-49 for attics in Milpitas’s climate zone. Blown fiberglass from manufacturers like Knauf or CertainTeed achieves this at 12.5-15 inches depth. Many Milpitas homes built before 2005 have R-19 or less - half the current standard.
Musty odors without visible water staining usually indicate bypass-driven moisture accumulation. Warm interior air carrying humidity enters through leaks at top plates, light fixtures, or duct connections, condenses on cooler attic surfaces, and loads insulation with moisture. The fix is air sealing, not more insulation. Our Spray Foam Insulation in Milpitas service provides both insulation and air sealing in one application for severe bypass cases.
Not always, but contaminated or moisture-damaged insulation must be removed. Spray foam applied over wet or pest-affected material seals the problem in place. We assess existing conditions and document with photos before recommending any approach. For homes with significant bypass issues, our Topside Attic Insulation Milpitas home assessment includes blower-door testing to quantify leakage before specifying solution.
The Bottom Line
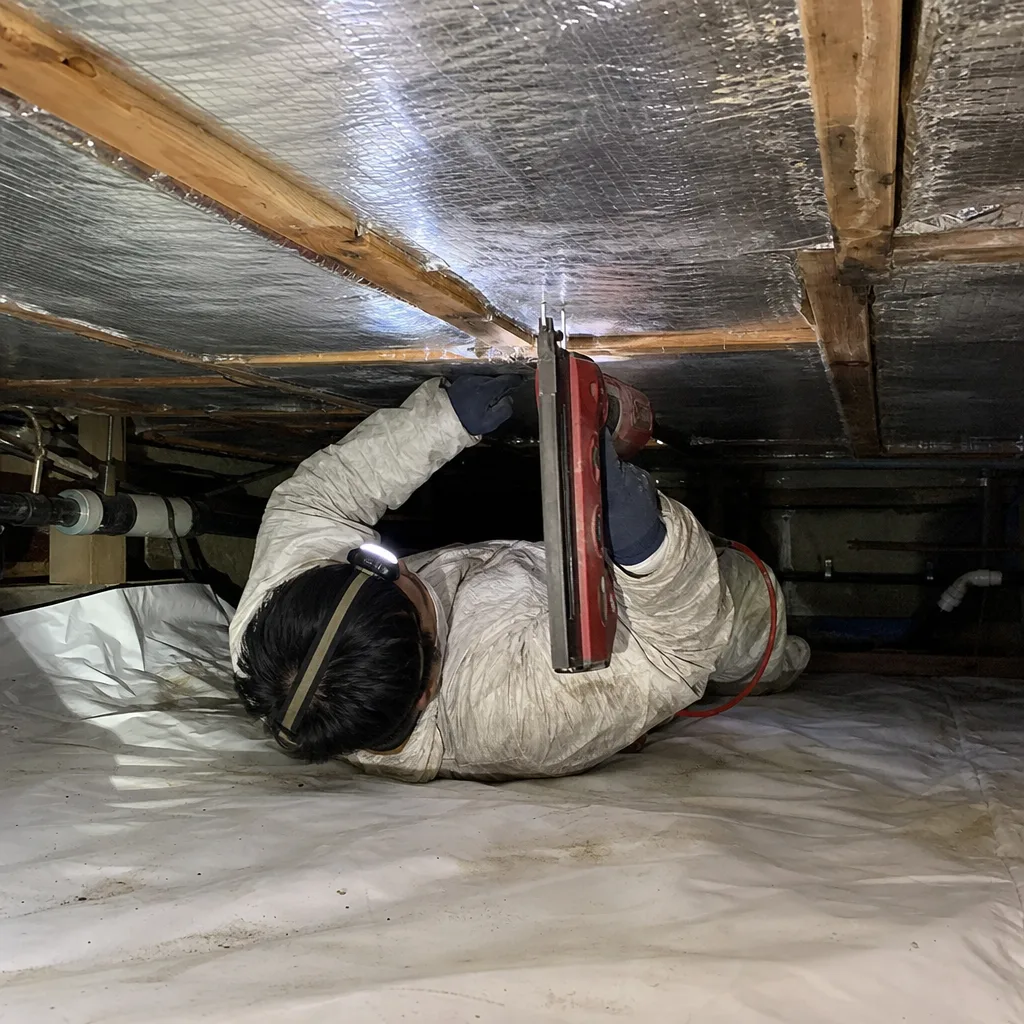
Attic insulation maintenance in Milpitas succeeds when it’s event-driven, not calendar-driven. Inspect after pest treatment, HVAC service, attic access, roof repair, and significant rain. Document depth at multiple points, distinguish settled from moisture-compacted material, check bypasses at top plates and penetrations, and photograph everything. Most performance loss comes from specific, identifiable defects - disconnected ducts, reopened bypasses, moisture intrusion - not gradual material degradation. Find more guides & resources on our blog. Address the defect, and the insulation performs as designed. Ignore the trigger events, and even new material degrades faster than it should.
Written by Wes Okafor, Owner at Topside Attic Insulation Milpitas, serving Milpitas since 2016.