
Last updated September 24, 2026
Seasonal Insulation Care for Milpitas: Year-Round Homeowner’s Guide
Milpitas attic temperatures can swing from 140°F at 3 p.m. to 62°F by 5 a.m. on a September night when the delta breeze comes in - that 78-degree swing in under 14 hours is the primary driver of vapor drive and condensation damage that homeowners blame on rain. Most insulation advice online is written for four-season climates with hard freezes and humid summers. Milpitas doesn’t work that way. In this guide, we’ll walk through the actual thermal calendar of Milpitas - the hot-dry period and the cool-humid period - and what your attic, crawl space, and wall assembly need at each transition. You’ll learn why September through November is the most dangerous season for your insulation, how to read the signs of vapor drive damage before it becomes mold, and what a documented seasonal check should include.
Quick Answer
Seasonal insulation care in Milpitas means managing two distinct periods: a hot-dry season (May-September) where attic ventilation and radiant barrier performance matter most, and a cool-humid season (October-April) where air sealing integrity and vapor barrier continuity prevent moisture damage. The critical window is September through November, when delta breezes create rapid temperature swings that reverse vapor drive direction multiple times per week. Homeowners should inspect attic bypass seals, measure insulation depth against compression, and verify ventilation free area twice yearly - before May and before October.
Table of Contents
- Milpitas’s Two-Season Insulation Calendar
- What Vapor Drive Actually Does in Milpitas Attics
- Pre-Summer Checklist: May Readiness
- Pre-Winter Checklist: October Readiness
- The Danger Season: September Through November
- Crawl Space and Rim Joist Seasonal Care
- What Your Seasonal Documentation Should Include
- Common Mistakes to Avoid
- When to Call a Professional
- Frequently Asked Questions
- The Bottom Line
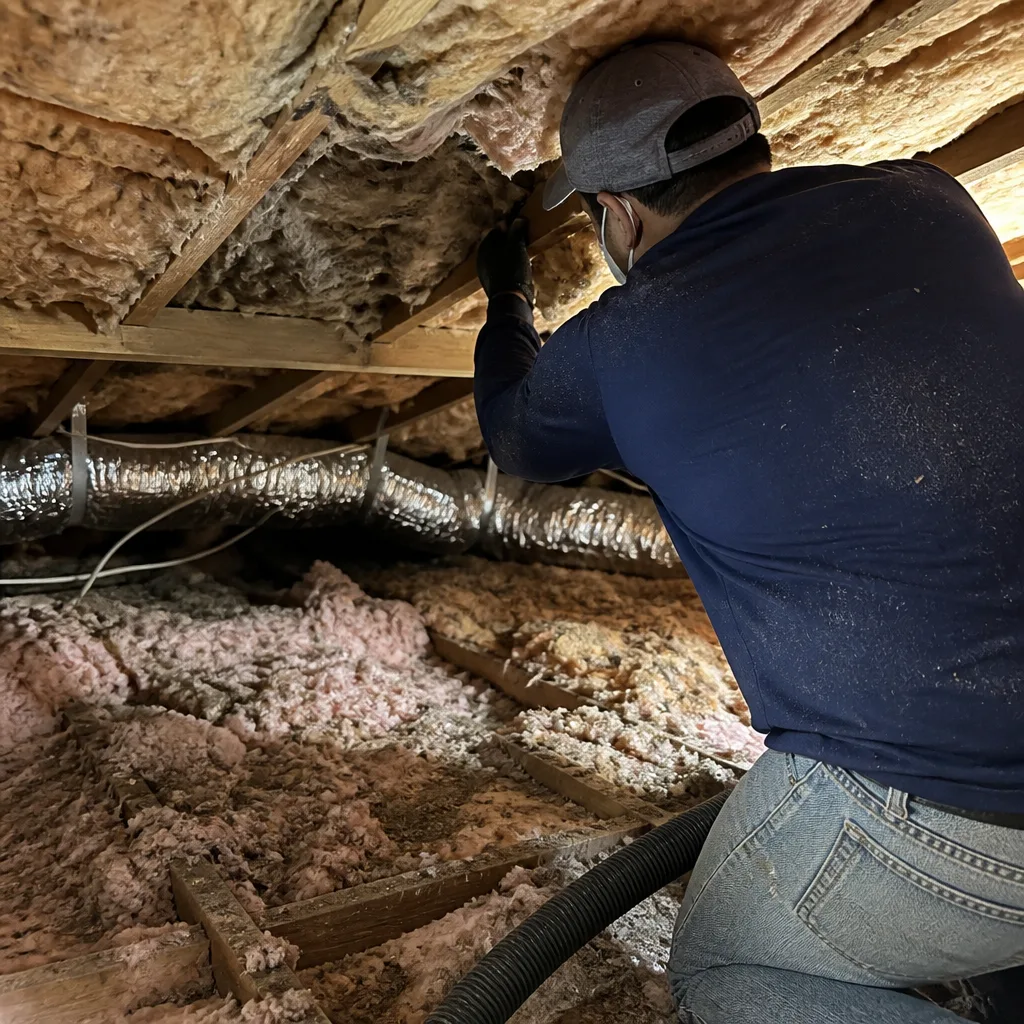 Before
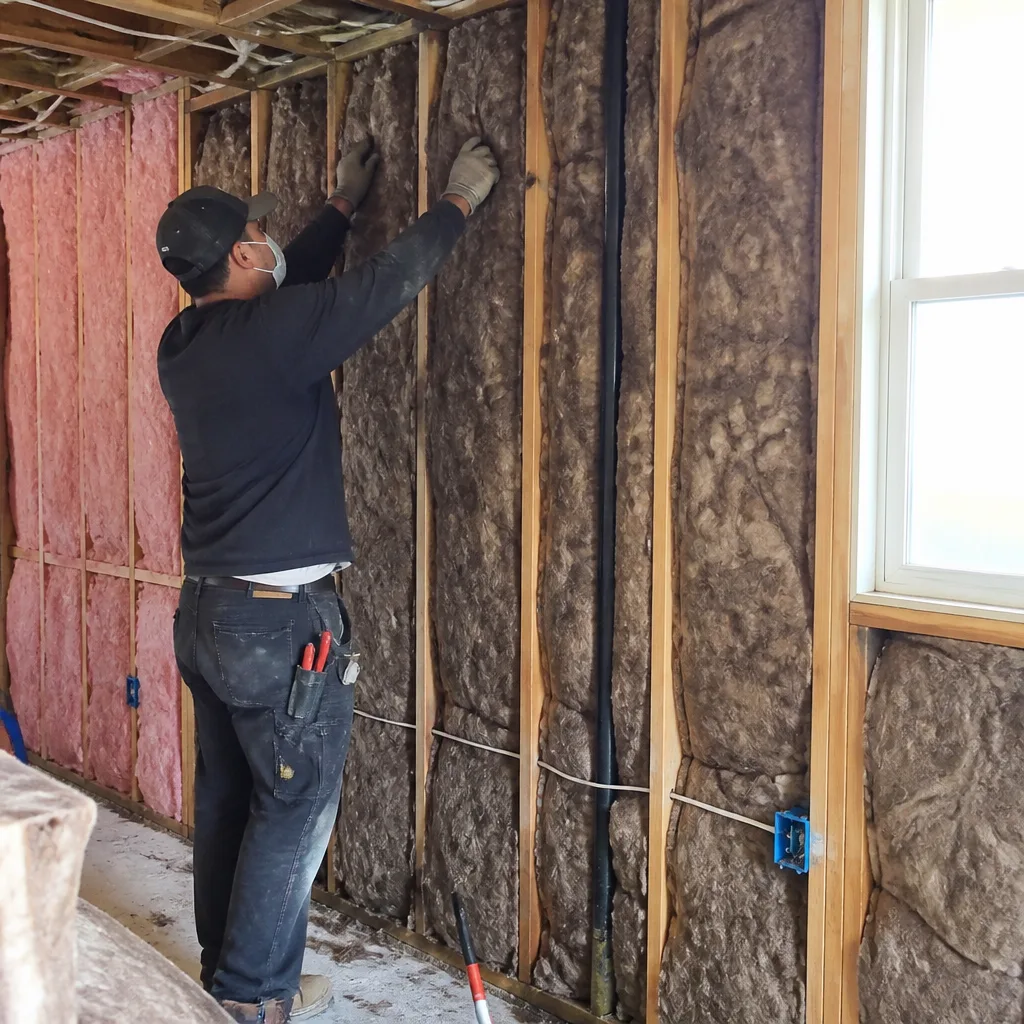 After
AfterMilpitas’s Two-Season Insulation Calendar
Milpitas sits at the southern end of San Francisco Bay, caught between the Santa Clara Valley heat sink and the marine layer that pushes through the Golden Gate. This geography creates a climate that doesn’t fit the four-season template. We’ve found it more useful to think in two seasons: hot-dry (May through September) and cool-humid (October through April). The transitions between them - especially September into October - are where most insulation failures begin.
During the hot-dry period, Milpitas attics regularly reach 130°F to 150°F. The concern isn’t moisture; it’s thermal boundary integrity. Insulation that has compressed below its labeled R-value, radiant barriers that have accumulated dust or lost their reflective surface, and ventilation pathways blocked by storage or rodent activity all become problems. The house is under cooling load for months, and every thermal bridge or air leak forces your HVAC to work harder than the insulation rating suggests it should.
The cool-humid period brings the opposite risk. Overnight lows in Milpitas drop into the 40s from November through February, and the delta breeze - that cool, moist air that flows inland from the Bay - can push relative humidity in vented attics above 70% for days at a time. This is when vapor drive becomes active, when condensation forms on cold ductwork or the underside of roof sheathing, and when the air sealing work you did (or didn’t do) in summer shows up as water stains or compressed, degraded insulation.
Neighborhoods matter here. Homes in the eastern hills toward Piedmont Road sit higher and catch more afternoon sun but also more evening wind exposure. Properties near the wetlands along Coyote Creek experience higher baseline humidity. The 1960s and 1970s subdivisions north of Calaveras Boulevard often have original insulation with no air sealing at all - the thermal boundary is essentially a filter, not a barrier. In the newer townhome clusters near the Great Mall, we’ve seen spray foam installations that were specified correctly but missed critical rim joist connections, creating hidden condensation planes.
Understanding which season your home is entering - and which failure mode it creates - is the foundation of every decision that follows.
What Vapor Drive Actually Does in Milpitas Attics
Vapor drive is the movement of moisture through materials, and it always moves from warm to cold. In most of the country, that direction is predictable: outward in winter, inward in summer. In Milpitas, during September and October, the direction can reverse twice in a single week.
Here’s how it plays out. A September afternoon in Milpitas: the attic hits 140°F, the roof sheathing is hot, and any moisture in the attic air is driven outward - toward the cooler outside air or into the roof assembly. By 2 a.m., the delta breeze has dropped the attic to 65°F. Now the warm, moist air from your conditioned living space - where you’ve been running a humidifier or just living normally - is driven upward through ceiling penetrations into the cold attic. The direction has flipped.
Each reversal leaves moisture somewhere. If your attic floor is well air-sealed - top plates sealed, can lights boxed or replaced, wire and pipe penetrations foamed - that moisture stays in the living space where your HVAC can manage it. If not, it deposits into the insulation, reducing its effective R-value and creating the conditions for mold on the roof sheathing or ceiling drywall.
The insulation configuration that manages this is straightforward in principle: a continuous air barrier at the attic floor (or roofline, if conditioned attic), adequate ventilation to flush any moisture that does get in, and insulation that doesn’t act as a filter. Blown fiberglass or cellulose that has settled below the top of the joists creates a wind-washing path - air moving through the insulation, carrying moisture and heat with it. Spray foam, when applied at proper thickness and to a clean substrate, eliminates this but must be paired with mechanical ventilation if the attic is conditioned.
In Milpitas, we regularly see homes with 12 inches of original fiberglass batts that have compressed to 8 inches, leaving the top plates and electrical boxes exposed to attic air. The homeowner thinks they have R-38; what they actually have is R-25 with significant bypass area. The blower-door test - a pressurization reading that shows, in one number, how much air your building envelope is losing - typically reads 3,500 to 5,000 CFM50 in these homes. After proper air sealing and insulation replacement, that number drops to 1,800 to 2,400 CFM50. The homeowner doesn’t feel the difference as “less draft”; they feel it as rooms that finally maintain setpoint, and an HVAC system that cycles normally instead of running continuously.
Materials matter for vapor management. Spray foam insulation in Milpitas - whether open-cell Icynene or closed-cell Demilec - provides both insulation value and air sealing in one application, but the vapor permeability differs: open-cell is vapor-permeable and requires a separate vapor retarder in some assemblies; closed-cell is vapor-impermeable and can act as its own air and vapor barrier. Rockwool batts, which we use frequently in floor and wall applications, are vapor-permeable and hydrophobic - they don’t absorb water and can dry if they get wet, but they don’t stop air movement without a separate air barrier. The right assembly depends on the specific location and the moisture loads it faces.
Pre-Summer Checklist: May Readiness
The hot-dry period in Milpitas runs from May through September, with the most extreme attic temperatures in July and August. Your pre-summer check should focus on thermal performance and ventilation, not moisture. Here’s what we recommend:
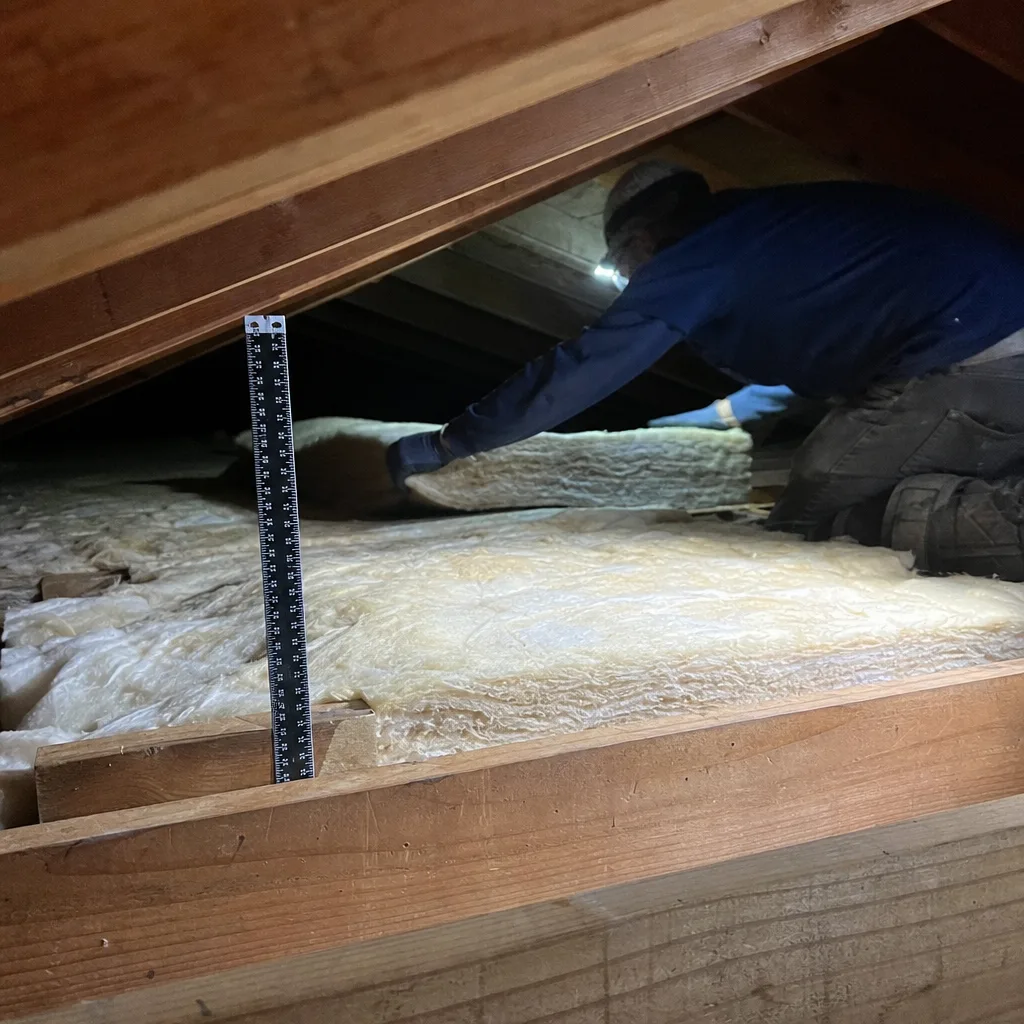
- Measure insulation depth at multiple points. Use a ruler or depth gauge at six to eight locations, including near the attic hatch, at the eaves, and near any HVAC equipment. Blown cellulose should be at labeled depth for its R-value; fiberglass batts should fill the joist cavity without compression gaps. In Milpitas, we commonly find original insulation in the Ranchlands and Sunnyhills neighborhoods compressed 20-30% below original thickness. Note any variation - uneven depth indicates wind-washing or past disturbance.
- Calculate ventilation free area. Attic ventilation works on the principle that intake (soffit vents) and exhaust (ridge or gable vents) create passive airflow that removes heat and moisture. The IRC specifies 1 square foot of net free area per 150 square feet of attic floor, or 1:300 if balanced and vapor-retarder-equipped. In practice, many Milpitas homes have insufficient soffit venting because insulation blocks the airway, or exhaust vents that are undersized for the attic volume. Look for: soffit vents painted over, insulation pushed against the eave without baffles, or ridge vents that were installed over solid sheathing without cutting the opening.
- Inspect radiant barrier condition if present. Radiant barriers - reflective foil or coated sheathing - reduce radiant heat transfer from the roof deck to the attic floor. They work best when clean, properly draped with an air gap, and intact. In Milpitas, dust accumulation over five to seven years can reduce effectiveness by 30% or more. Look for: foil that has torn or fallen, dust coating that obscures reflectivity, or installation directly on the attic floor (where it becomes a conductive pathway, not a radiant barrier).
- Check for pest entry and rodent damage. Summer is when roof rats and squirrels are most active. Look for: gnawed wires, disturbed insulation with tunneling, droppings concentrated near the attic perimeter, and entry points at roof/wall intersections or vent screens. In the Milpitas hills, we’ve seen rats compress insulation paths that create persistent cold spots in bedrooms below.
- Verify HVAC duct insulation and sealing. Ducts in unconditioned attics lose 20-40% of their cooling energy to radiant heat gain and air leakage. Check that flex duct insulation is intact (not torn or UV-degraded at exposed sections), that connections are sealed with mastic (not failing tape), and that the duct chase itself is sealed where it passes through the attic floor.
- Document with photos. Take dated photos of insulation depth, ventilation condition, and any problem areas. This becomes your baseline for comparison at the pre-winter check.
Most attic insulation jobs in a Milpitas home of 1,400 to 2,000 square feet run between $2,800 and $5,400 for air sealing and blown-in replacement, depending on access difficulty and whether existing material must be removed. A full attic insulation assessment in Milpitas includes a written scope with this price range before any work starts.
Pre-Winter Checklist: October Readiness
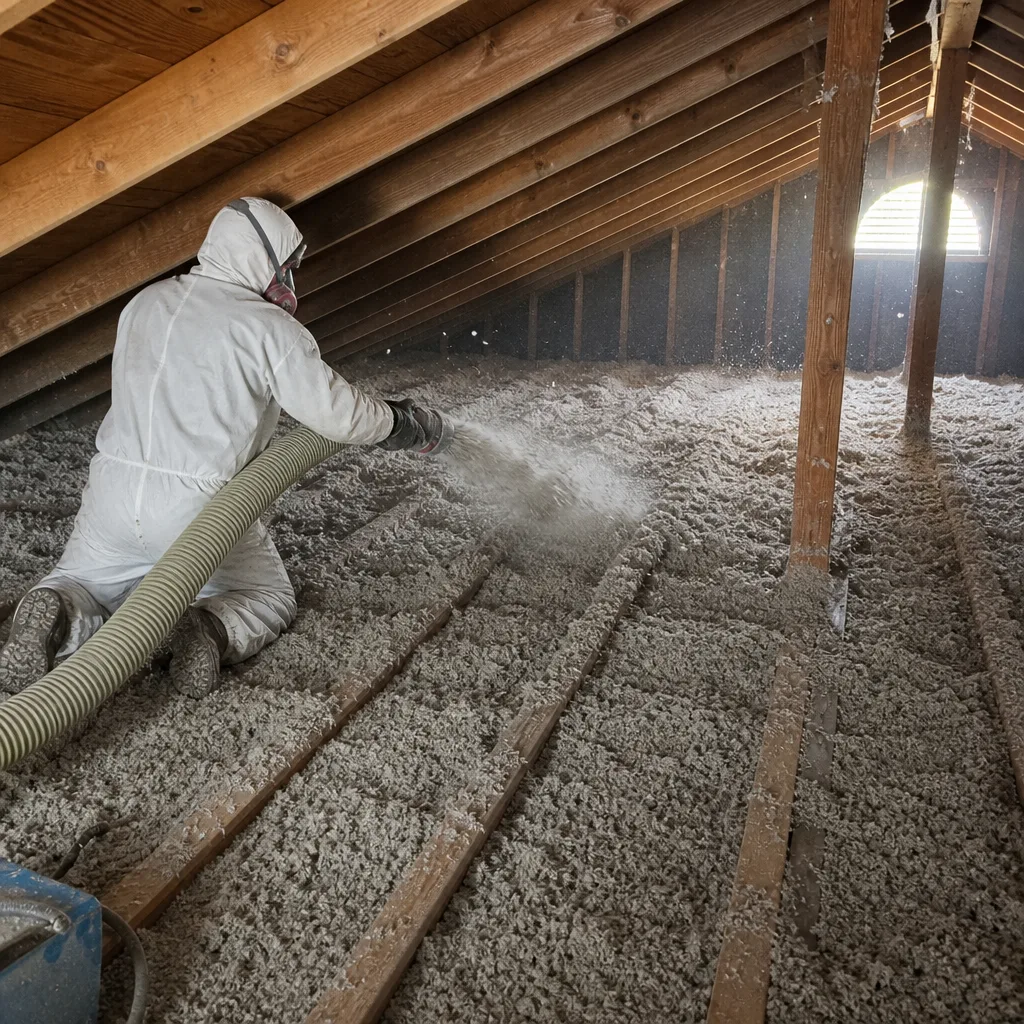
The cool-humid period brings different risks. Your October check should focus on air sealing integrity, moisture management, and any damage that occurred during summer’s thermal cycling.
- Inspect attic bypass seals for thermal cycling damage. Caulk and foam sealants expand and contract with temperature swings. In Milpitas, where attic temperatures can vary 60°F or more in 24 hours during September and October, this cycling loosens seals at top plates - the horizontal framing member where interior walls meet the ceiling. Look for: gaps in caulk lines, cracked foam at pipe penetrations, and light visible around electrical boxes. Pay special attention to kitchen and bathroom exhaust fan housings, which are common bypass points and often poorly sealed originally.
- Check for summer moisture damage. Even in the hot-dry season, occasional marine layer intrusion or roof leaks can wet insulation. Look for: water stains on roof sheathing, compressed or discolored insulation (cellulose that has darkened, fiberglass with brown staining), and rust on nail heads or HVAC straps. These indicate past or ongoing moisture intrusion that will accelerate in winter.
- Evaluate duct insulation condition after summer heat. Flex duct outer jackets can degrade from prolonged attic exposure. Check for: brittle or cracked insulation wrap, exposed inner liner, and disconnected sections. In Milpitas, we regularly find that the R-6 flex duct installed in the 1990s and 2000s has compressed to effective R-4 or lower as the fiberglass core settles.
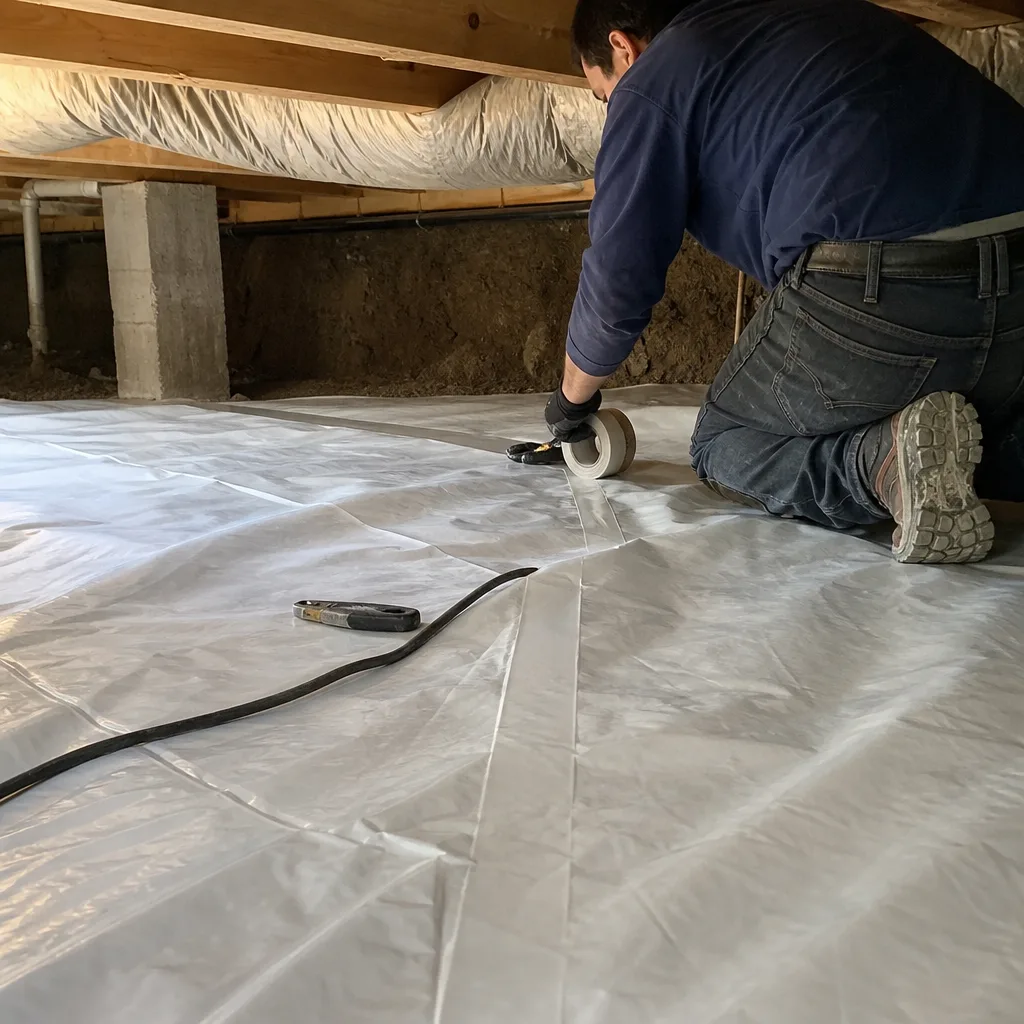
- Inspect vapor barrier continuity in crawl spaces. If your home has a crawl space, the ground vapor barrier - typically 6-mil polyethylene - is your first defense against winter humidity. Look for: tears, displacement, and seams that have separated. In the clay-heavy soils of eastern Milpitas, ground moisture can be significant even without standing water. Crawl space encapsulation in Milpitas typically includes sealing the ground, walls, and piers with reinforced polyethylene or closed-cell foam, and adding mechanical dehumidification if needed.
- Verify pest entry points haven’t opened. Rodents seeking winter shelter will exploit gaps created by summer thermal movement. Check the same areas as your May inspection, plus any new gaps at chimney chases or additions.
- Test bathroom and kitchen exhaust fans for proper termination. Fans that terminate in the attic (rather than through the roof or gable) dump moist air directly into the insulation. In winter, this condenses on cold surfaces. Verify that exhaust ducts are insulated, sloped to drain, and terminate outside the thermal envelope.
The cost to address air sealing alone in a typical Milpitas attic runs $1,200 to $2,400, depending on the number of penetrations and accessibility. When combined with insulation replacement, the scope is documented with a written price before any work starts, and before-and-after blower-door readings are provided on every applicable job.
The Danger Season: September Through November
July gets the attention, but September through November is the most damaging season for Milpitas attics. Here’s why.
The delta breeze - cool, moist air from the Bay - arrives irregularly in late summer and becomes persistent by October. When it hits an attic that has been baking at 140°F all afternoon, the temperature crash creates immediate condensation risk. Warm, moisture-laden air inside the home is driven upward into the suddenly-cold attic. Roof sheathing that has been radiating heat all day becomes a condensation surface as it cools. The direction of vapor drive reverses, sometimes within hours, and any air leak path becomes a moisture delivery channel.
We’ve documented this pattern repeatedly. In a 1972 home near Park Victoria Drive, we found mold on the north-facing roof sheathing in October - not from a leak, but from condensation driven by exactly this temperature swing. The homeowner had added insulation the previous spring without air sealing. The new insulation performed as specified for R-value, but it didn’t stop the air movement that carried moisture. The mold was worst above the master bathroom, where the exhaust fan terminated in the attic and the top plate was unsealed.
What to look for during this window:
- Morning condensation on roof nails. “Shiner” nails that frost over on cool mornings indicate attic air is reaching dew point. This is normal briefly in deep winter in cold climates; in Milpitas in September, it’s a warning sign.
- Musty odor from the attic hatch. If you smell mildew when you open the hatch, moisture is accumulating somewhere. Don’t ignore it until you see staining.
- Insulation darkening or clumping. Cellulose that has wetted and dried becomes darker and harder. Fiberglass that has filtered air movement shows brown or gray streaking.
- Ceiling drywall nail pops or tape failure in rooms below. These can indicate moisture cycling in the attic above, causing the drywall to expand and contract.
- HVAC performance changes. If your system suddenly seems to struggle maintaining setpoint in fall, it may be working against latent load from moisture intrusion, not just sensible heat loss.
Documentation during this window is critical. Take photos of any of the above conditions, with dates. If you call for assessment, these photos let us target the investigation rather than conduct a full survey - though we still perform the blower-door test to quantify the problem.
The fix for this season isn’t more insulation; it’s better air sealing and controlled ventilation. In some cases, particularly in homes with complex rooflines or cathedral ceilings, we recommend spray foam applied to the roofline to create a conditioned attic, eliminating the temperature swing entirely. This is a significant investment - typically $8,000 to $15,000 for a Milpitas home - but it solves the vapor drive problem at its source by removing the cold surface.
Crawl Space and Rim Joist Seasonal Care
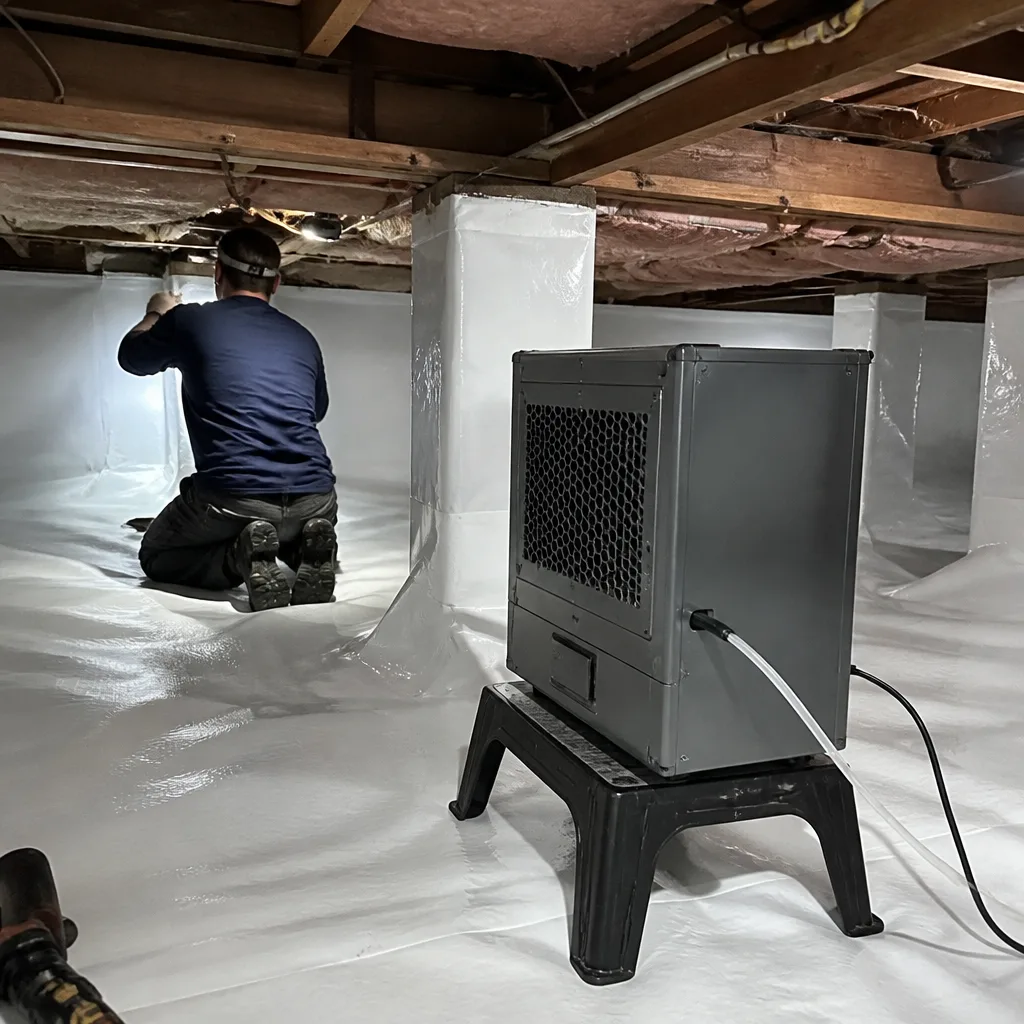
Milpitas has a significant stock of homes with vented crawl spaces, particularly in the pre-1980s neighborhoods and in some townhouse developments where slab-on-grade wasn’t practical. These spaces require seasonal attention that mirrors the attic logic but with different details.
In summer, a vented crawl space in Milpitas draws in warm outside air. If the ground is bare or poorly covered, this air picks up moisture and delivers it to the floor framing above. In winter, the same vents draw in cool, humid air that condenses on the underside of the subfloor and on ductwork. The result is year-round moisture stress, with winter condensation being the more visible problem.
The seasonal check for crawl spaces should include:
- Ground vapor barrier condition. Look for displacement, tears, and ponding water. The barrier should extend to all walls and be sealed at seams with appropriate tape.
- Foundation vent operation. Vents that are stuck open or missing screens admit pests and uncontrolled air. Vents that are permanently closed without mechanical dehumidification trap moisture. In Milpitas, we generally recommend sealing vents and installing a dehumidifier as part of full encapsulation, but the existing condition should be documented.
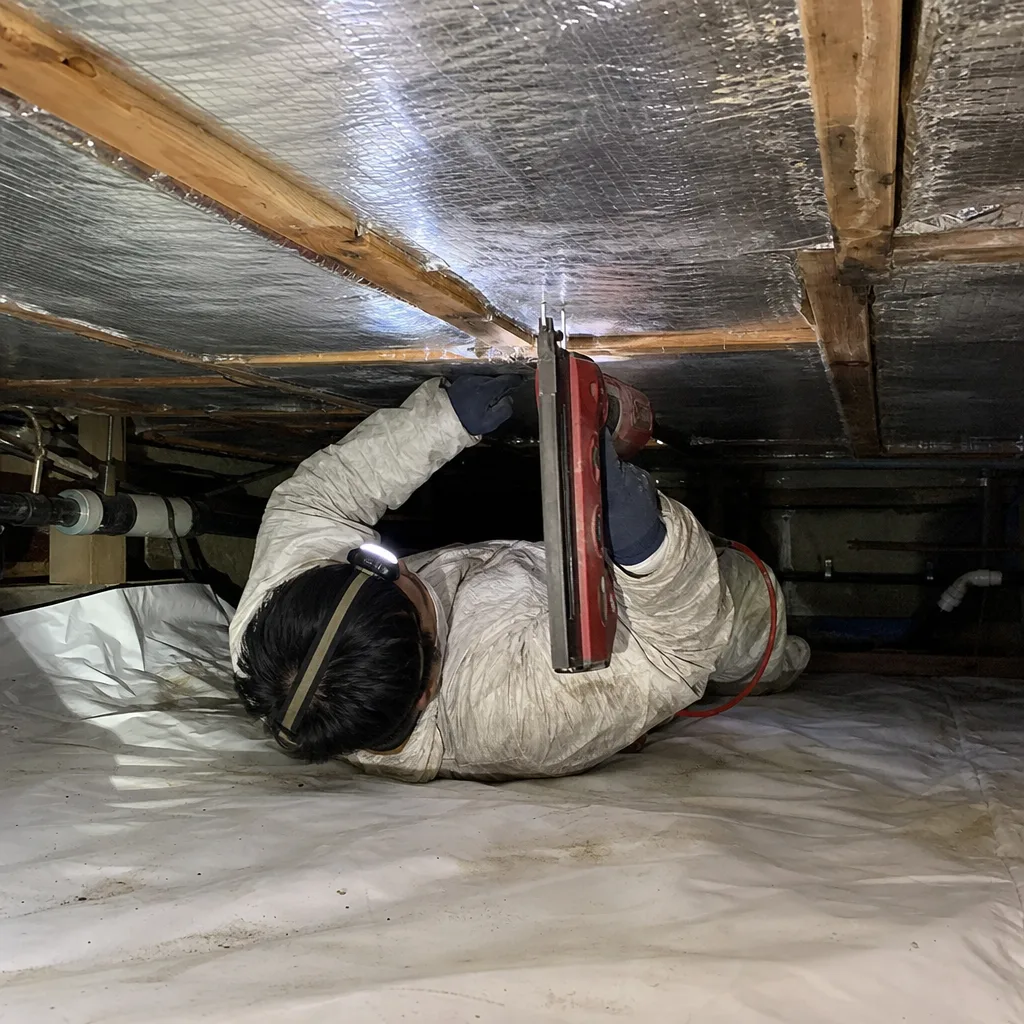
- Rim joist insulation and sealing. The rim joist - the perimeter framing where the floor system meets the foundation - is often the leakiest part of the building envelope. In Milpitas homes with uninsulated rim joists, we measure significant air leakage here during blower-door testing. Rigid foam or closed-cell spray foam applied to this area provides both insulation and air sealing.
- Subfloor moisture staining. Darkened areas on the subfloor underside indicate past or ongoing moisture accumulation. These should be mapped and monitored.
- Ductwork condition. Crawl space ducts suffer from ground moisture contact and pest activity. Check for separated connections, degraded insulation, and rust on metal components.
Full crawl space encapsulation in Milpitas typically runs $4,500 to $9,000 depending on square footage, access, and whether dehumidification is included. The work includes sealing all vents, installing reinforced ground and wall liners, insulating the rim joist, and providing mechanical moisture control. Every job receives a Documented Photo Record and, where applicable, before-and-after blower-door readings showing the envelope improvement.
Materials we use for these applications include Rockwool Comfortboard for exterior and semi-exposed applications where fire resistance and moisture tolerance matter, and CertainTeed MemBrain smart vapor retarders where variable permeability is needed in wall assemblies. The specific product is selected for the assembly and moisture load, not pushed as a default.
What Your Seasonal Documentation Should Include
We publish before-and-after blower-door numbers on every applicable job because a single figure - CFM50, or cubic feet per minute at 50 Pascals of pressure - tells the homeowner exactly what changed. Your own seasonal documentation should aim for the same specificity. Here’s what to record:
- Date and weather conditions. Outdoor temperature, recent rainfall, and whether the delta breeze was active. This context explains what you’re seeing.
- Insulation depth measurements. At minimum six points, with locations noted. A simple sketch of the attic with measurement locations is sufficient.
- Photos of ventilation inlets and outlets. Soffit vents, ridge vents, gable vents, and any mechanical ventilation. Note blockages or damage.
- Photos of all air sealing details you can access. Top plates, electrical boxes, pipe penetrations, chimney chases. You don’t need to be exhaustive; you’re establishing a baseline for change detection.
- Condition of HVAC components in the attic or crawl space. Duct insulation, filter condition, condensate drain operation.
- Any moisture evidence. Stains, mold, frost on nails, musty odor. Date and photograph everything.
- Pest evidence. Droppings, disturbed insulation, entry points.
Store this with your home maintenance records. When you call for professional assessment, having dated documentation lets us focus on what’s changed rather than starting from zero. Under Haven Standard: Have it in writing - this applies to your own records as much as ours.
Common Mistakes to Avoid
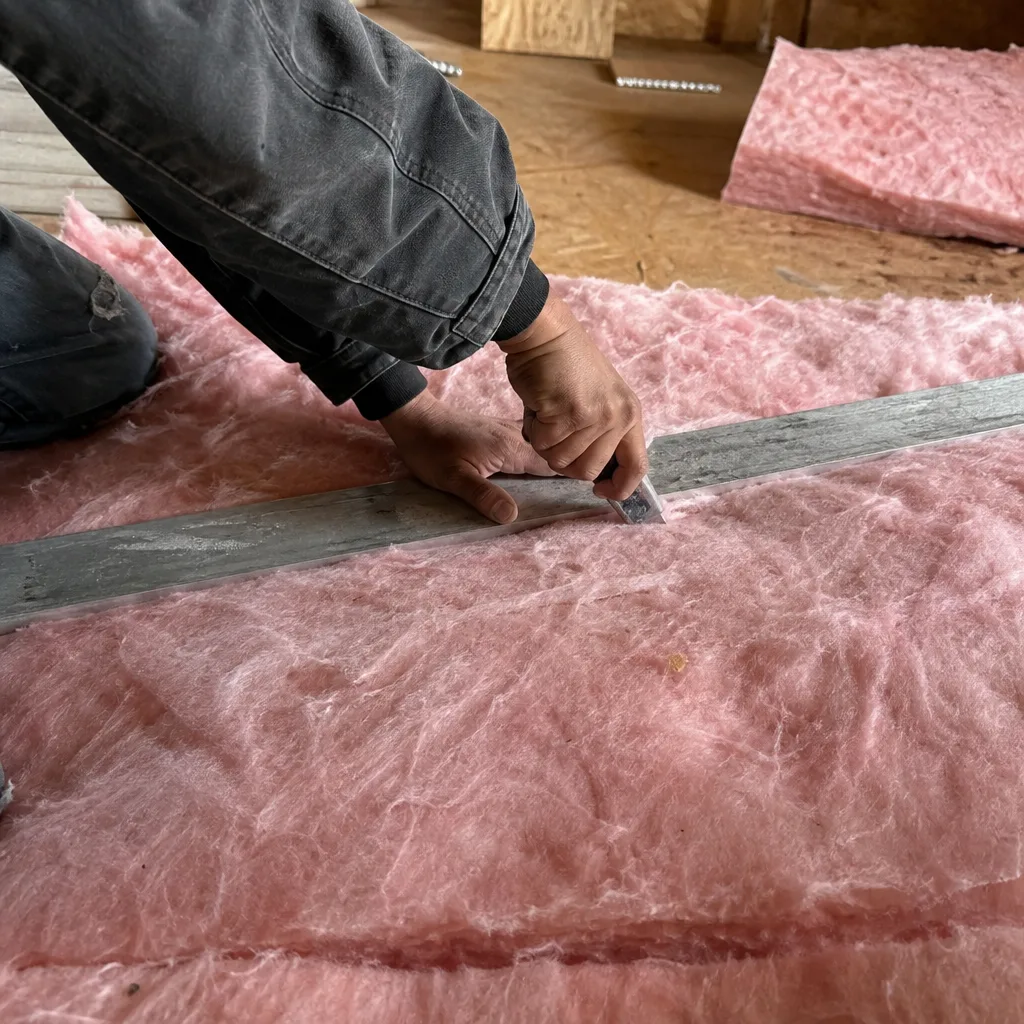
- Blowing new insulation over old without air sealing first. This is the most common error we correct in Milpitas. The new insulation performs at a fraction of its rated value because air moves freely through the bypasses beneath it. We will never blow insulation over an unsealed attic floor; air sealing of top plates, can lights, and penetrations is completed before any insulation is added.
- Assuming more R-value always equals better performance. R-value measures conductive heat transfer in a static condition. It doesn’t account for air movement, moisture accumulation, or thermal bridging. A well-sealed R-30 assembly outperforms a leaky R-49 in most real Milpitas conditions.
- Ignoring the delta breeze factor. Homeowners who’ve lived in hotter inland climates often design for continuous heat load and miss the humidity swing that makes September through November destructive. Ventilation strategy must account for both.
- Sealing attic vents without understanding why they exist. Some homeowners read that ventilation “wastes energy” and block soffit or ridge vents. In a vented attic assembly, this traps moisture and accelerates roof deck deterioration. Only conditioned, unvented attics should have sealed vents - and those require mechanical ventilation.
- DIY spray foam in occupied spaces. Two-component spray foam requires respiratory protection, controlled temperature and humidity during application, and knowledge of pass thickness to avoid shrinkage or odor issues. We’ve been called to remove improperly applied foam that off-gassed for months. This is not a weekend project.
- Neglecting the crawl space while focusing on the attic. In Milpitas’s clay soils, crawl space moisture affects floor assembly performance and indoor air quality year-round. The rim joist alone can account for 15-25% of total envelope leakage in homes with vented crawl spaces.
- Waiting for visible damage to inspect. By the time you see mold or ceiling staining, the insulation has been compromised for one or more seasons. Seasonal inspection catches problems before they become expensive remediation.
When to Call a Professional
Some conditions warrant immediate professional assessment: visible mold on roof sheathing or ceiling drywall, electrical hazards in the attic (exposed wiring, water contact), pest infestations with associated damage, or insulation that has been wet and shows compression or odor. If your blower-door test (performed during a home energy audit) reads above 3,500 CFM50 for a home under 2,500 square feet, your envelope is leakier than current practice and likely costing significantly in energy and comfort.
Topside Attic Insulation Milpitas offers free estimates in Milpitas - call (650) 770-8707. Every estimate includes a written scope and written price before any work starts, with no obligation. We also provide a Free Second Opinion on any written estimate from another contractor; bring us their scope and we’ll review it with you. Our 365-Day Done Right Promise applies to all completed work, and a live person answers calls 24/7.
Frequently Asked Questions
Basic seasonal inspection and spot air sealing in a Milpitas home typically runs $400 to $900, while full attic air sealing and insulation replacement ranges from $2,800 to $5,400 depending on size, access, and material. Crawl space encapsulation runs $4,500 to $9,000. Call (650) 770-8707 for an exact quote - estimates are free, and you’ll receive a written price before any work starts.
Spot repair is cheaper upfront but often more expensive over five years because it doesn’t address the air sealing and ventilation problems that caused the original damage. In Milpitas’s climate, we’ve found that partial replacement without air sealing typically fails within three to five years. A full-scope job with documented blower-door improvement is the better investment for homes with original insulation and no prior air sealing. Call us for a Free Second Opinion on any written estimate you’re comparing.
Same-day service is available for urgent conditions like pest damage with active infestation or wet insulation with mold risk. Planned seasonal upgrades are typically scheduled within one to two weeks. Call (650) 770-8707 - a live person answers 24/7, and we’ll give you a realistic timeline based on current workload.
The delta breeze creates rapid temperature swings - attic temperatures can drop 50°F or more in hours - which reverses vapor drive direction and causes condensation on roof sheathing and cold ductwork. This moisture deposits into insulation, reducing R-value and creating mold conditions. The damage is often invisible until spring, when warm weather reveals the odor or staining.
Calculate your attic floor area and divide by 150 (or 300 if you have a vapor retarder and balanced ventilation). This gives required net free area in square feet. Then measure your actual soffit and exhaust vent area, accounting for insect screens and louvers that reduce effective opening. If the math doesn’t work, or if you find blocked soffits or painted-over vents, your ventilation is likely insufficient for Milpitas’s thermal loads.
Air sealing stops the movement of air through the building envelope - at top plates, electrical boxes, pipe penetrations, and other bypasses. Insulation slows conductive heat transfer through materials. You need both: insulation without air sealing performs poorly because air moves through and around it, carrying heat and moisture. Air sealing without insulation leaves thermal bridges. We complete air sealing before adding insulation on every job.
A blower-door test isn’t required for basic inspection, but it’s the only way to quantify envelope leakage and verify improvement after air sealing work. We provide before-and-after blower-door readings on every applicable job so you can see the performance change in a single figure. If you’re considering significant work, the test justifies the investment with documented evidence.
The Bottom Line
Milpitas homes face a two-season thermal calendar - hot-dry and cool-humid - with a dangerous transition window in September through November when delta breezes create moisture conditions that most insulation advice ignores. Effective seasonal care means checking attic ventilation and insulation depth before summer, verifying air sealing integrity and moisture barriers before winter, and paying special attention to the shoulder season when vapor drive reverses. Documentation matters: measure, photograph, and date your findings so you can detect change. And air sealing comes first - always - because insulation only performs as rated when the air around it is still. Since 2016, we’ve sealed and insulated 9,000+ homes, every one with a written price before work started and a documented record when the crew left. The principles in this guide are the same ones we apply on every job.
Written by Wes Okafor, Owner at Topside Attic Insulation Milpitas, serving Milpitas since 2016.